Friday, February 28, 2014

Etched Doily Mirror Revamp

Hello crafty peeps. I know you love it when I take a thrift Store Find and make it into something amazing!! Well I have done it again and you will love this idea!!! It's all about Etchall and Doilies!! So lets get this tutorial rockin!!!


Step 1 I began by painting the inside frame with Gesso becuase I wanted a White Background!!


 Step 2 I folded the Doilies in half and glued the first layer to the frame!!! Noticed that I only Gesso painted what I needed.

Here is what the first Layer looks like!!

 I added another layer and this is what it looks like!! The Double layers make for a better look!


 Step 3 I took some sheer embroidered lace and glued it around the mirror. I created ruffles as I went around!


Here are the results!! Now that the frame is finished, now we need to decorate the glass!!!

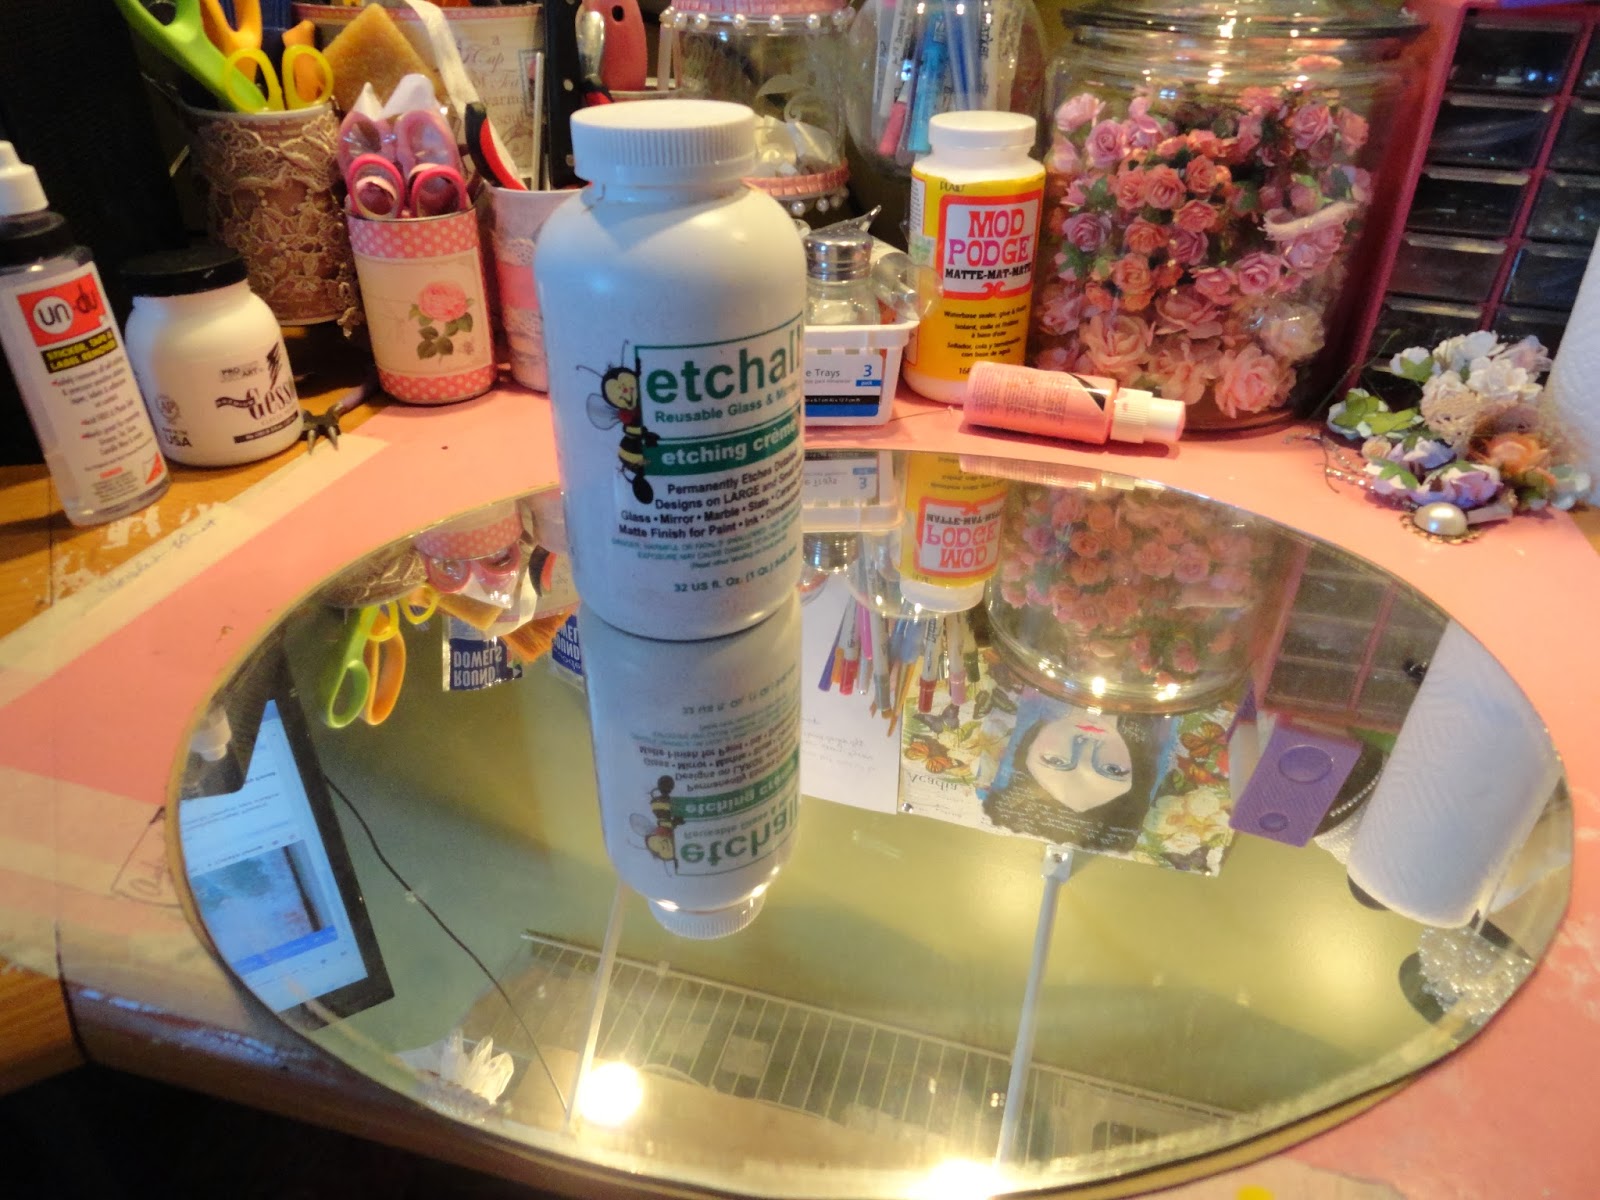
 Etchall is the leading product in etching glass. The results can not be created with any other product on the market as Etchall provides!!! Every piece I create always comes out amazing!!!! So lets get to the tutorial of this step!!!


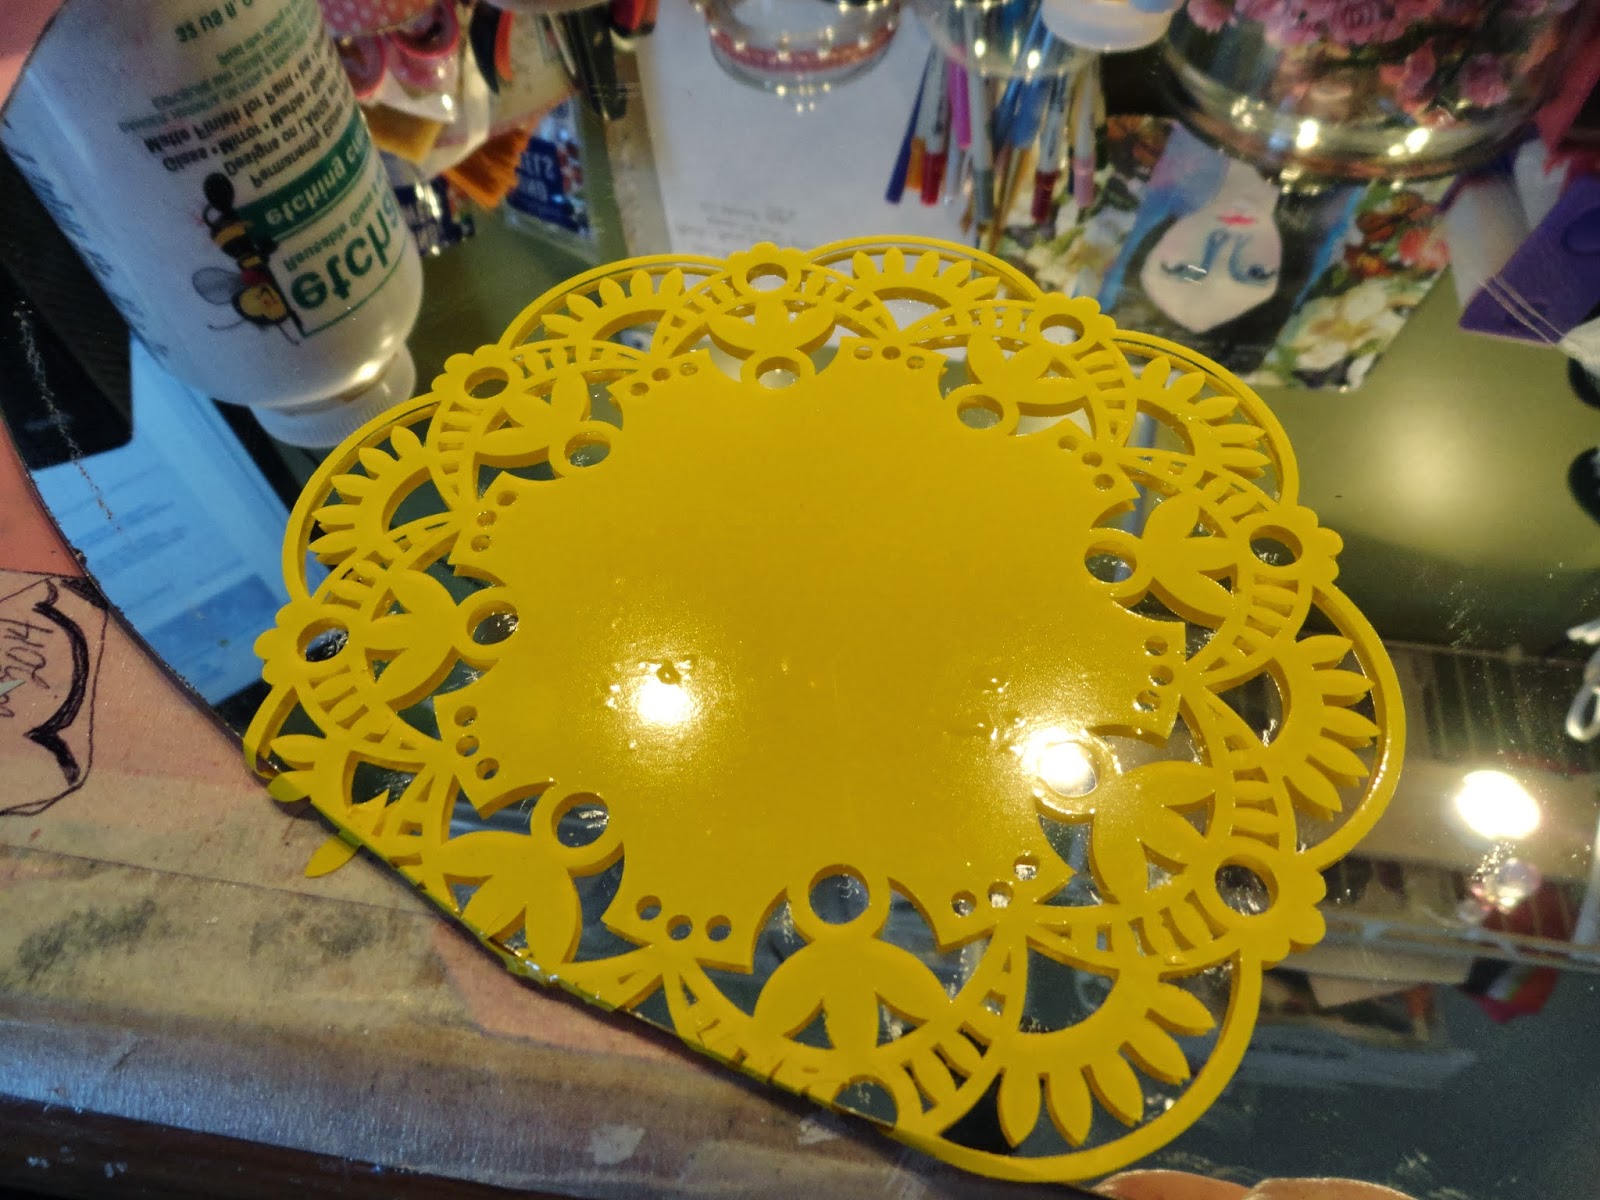
 Step1 you pick a design you would like to etch, which in the case was doily patterns. You will cut your chosen design out on the Etchall Etching Vinyle then place a piece of Etchall Etching Mask a top the design.


 Step 2 you will then peel the backing off revealing the sticking side of the vinyl.

 Step 3 Place the design onto your mirror sticky side down and use your Etchall squeegee tool and burnish and press the design to the mirror for good contact.


 Step 4 remove the etching mask revealing the design.


Step 5 Clean out the design using your knife tool in the Combo Swivel Set from Etchall.

Etchall has this amazing product called Gel Resist. It does as it says, it resists the etching cream. So you will apply it to the areas that you do not want the etching cream to etch.


Step 6 Use the resits gel around the cut image. As you see above I used a paint brush to apply the Gel. The Gel begins green and when it drys clear which takes about 30 mins and this time depends all on how thick you applied it too. You are ready to apply your etching cream!!


Step 7 apply your etching cream as seen above making sure that you have a thick coating to where you can hardly see your design. The thicker the coating, the better the results!!!


Step 7 After the 15 mins have elapsed, you will scrap back off the etching cream and return it to the bottle for another etching. That is what is amazing about Etchall Creams and Dips. They are reusable which will lend you tons of etching projects.


 Step 8 take your project and rinse under water the remaining etching cream and to remove the etching mask. It is much easier to remove the mask undeer water for it releases the adhesive.


 Finally, clean and dry your project and reveal your amazing results!! As I have always said Etchall products are the best on the market and will always give you professional results every time if you follow the simple steps!!


Now here is my Etched Mirror that has been revamped!!! It went from a Thrift Store find to something simply divine!!! So I hope this inspires you to take those ugly things you have hidden and rethink the possibilities of what they can truly be!!!

Thank you for stopping by

Your Professional Crafting Designer and Educator

Angela Holt

Wednesday, February 26, 2014

Shabby Chic Basket Tutorial AMAZING!!!!

Hello Crafty Peeps!!! I could not sleep last night so I stayed up to create this amazing Shabby Chic Basket for you!!! I have a complete tutorial and you can watch me make this amazing basket that once was my Dishwasher Detergent Holder. If you have any questions please let me know!!! I LOVE HOW THIS CAME OUT!!!!


 Watch Video Below!!!


Wednesday, February 19, 2014

Beautiful Moments Card

Hello crafty peeps!! Spring is only 30 days away and here in TN, I feel the weather changing and the need to begin crafting in Bright fabulous colors!! Today I bring you a step by step tutorial on how to make a lovely card using Graphic 45's Botanical Tea Collection, Xyron Adhesive and Memory Box Dies!! So follow along with me in creating this lovely and Spring inspired card. 


Step 1: Begin by cutting out the shape of card you want. I chose an ornate style!! I cut this shape from the same double sided paper and in two sizes. I used a Blue Ink called Weather Vane from Jenni Bowlin to ink the edges of both pieces.


Step 2: I used Xyrons Foam Squares from the Fabulous Teresa Collins Adhesive Kit to add height to the card. I only add the foam squares to the smaller of the two pieces.


Step 3: Using the wonderful elements and details that Graphic 45's Paper collection and Die cuts from Memory Box dies, I fussy cut out some designs that I wanted on the card. I then used Xyrons 3 inch Sticker Maker to make these elements into stickers for easy application.


Step 4: is to being building your designs!! As you see in the above photos, I alternated between leaving some elements flat and some raised using Xyron's Foam Squares. By doing this technique, it bring eye catching details to your card.


Step 5: Finishing up with small details as you see above using more elements from the paper collection and some flat backed pearls add the perfect finishing touches!!


This card was super easy to make by using elements that are given to us with the Graphic 45 Botanical Tea collection and the wonderful adhesive tools by Xyron. I have always used my Xyron products when paper crafting for years. I hope this inspires you to pull out your stickers makers and some of your favorite paper collections and build you Spring inspired Card!!!

Your crafting Educator and Designer

Angela Holt

Art Dress Glamor Card Tutorial

Check out my Fabulous NEW Art Dress Glamor Card Tutorial!! You will learn how to make this card step by step!!! http://youtu.be/1gIcXRk9uUI


Sunday, February 16, 2014

Winner of the UGLY BOW CONTEST!!!!

I want to thank each and everyone that entered this contest!!! My friends were over tonight and I had them pick the winner of the contest!!! Without delay the WINNER of the Zutter BOW IT ALL is..........

 Deb Huffman

Congrats Deb!!! I hope this helps you make more perfect bows than ever before!!!

Here is her UGLY bow!!!

 
Be sure to watch out for more ways to win fab prizes through out the year!!!

Your Crafting Educator and Designer
Angela Holt

Sunday, February 9, 2014

Interview for Close Friends Q and A

Hello Crafty Peeps!! I was simply honored that was chosen to be a Featured Artist in this amazing group!! I asked for a questionnaire for I love questionnaires!!Below you will find the link to my Video Interview with questions brought to you by Jm Monroe. Below are also links to everything about me, my gallery, my bog and more!!! let me know if you have any questions!!! Thank you all again for your support, kindness and simply being a fab friend!!!

LINK TO VIDEO: http://youtu.be/qNWLUTZgXNA
Facebook: https://www.facebook.com/AHoltDesigns
Ustream Show: http://www.ustream.tv/channel/the-bling-chronicles
Blog: http://www.angelaholtdesigns.com/
Store:https://www.facebook.com/AHoltDesigns/app_189977524185
Twitter: https://twitter.com/AHDesigns1
Linkedin: http://www.linkedin.com/pub/angela-holt/44/306/44a/


Friday, February 7, 2014

Graphic 45 Botanical Tea Valentine Card

Love is in the air and so is the NEW Graphic 45 Botanical Tea Paper!!! I was super excited when I got my paper pad that I had to make a fabulous card for you to try!! So let's get started!!!

Product List:
White Cardstock
2 Styles of Pattern Paper ( I used G45 Botanical Tea) I used "Hello Friend" base and "Just Because"2nd Piece of Pattern Paper
1 Chipboard Heart Shape ( I found mine on Ebay)
1 Shabby Chic Heart Shaped Embroidery ( I found mine on Ebay)
Fused String Pearls
Banner Cut out ( mine is from Silhouette America online download store)
Brown ink of your choice
Embossing Folder of Choice ( I used Spellbinders M-Bossabilities EL-001)
Lace
Lindy's Stamp Gang Alpine Ice Rose Starburst Spray
Lindy's Stamp Gang Hibiscus Rose Orange Embossing Powder
Xyron Taper Runner
Xyron 1.5" create-a-sticker
Hot Glue
White Acrylic Paint or Gesso


 Step 1Begin cutting a cardstock base card at the measurements of  6 3/8 by 5 inches

 Step 2 Cut your first pattern paper of choice 1/8 inch smaller on all sides than your card base. Then use your Embossing folder to emboss the pattern paper!

 Step 3. Use your Fabulous Xyron Tape Runner To adhere this to the card base leaving a small boarder on all sides.
 Step 4 cut your second piece of pattern paper at 4 3/4 x 5 inches!! This will leave about a inch of the base pattern paper showing at the bottom. Take you brown ink of choice and ink all sides of the second pattern piece! See photo below!


Step 5 Now Before you use your Xyron Tape Runner to adhere the second piece of pattern paper down you will need to grab a piece of lace that is a little wider than the card. Take Hot glue and gather the center of the lace and tack down. Then you will wrap the lace around the card as you see in the photo above. Adhere with your Xyron Tape runner


 Step 6. Take your white acrylic paint or Gesso and paint the chipboard heart

 Step 7 Embossing your heart with Lindy's Stamp Gang Hibiscus Rose Orange


 Step 8 Before you adhere your Shabby Chic Heart on to the Embossed Chipboard Piece, you will need to spritz it with the Lindy's Stamp Gang Alpine Ice Rose Starburts Spray. NOTE: This color matches perfectly with the NEW G45 Botanical Tea Paper Line.


Step 9 Take your Fused Pearls and hot glue them around the shabby heart.


 Step 10 you will run your banner pieces through your Xyron 1.5" create-a-sticker maker.

Step 11 Adhere the banner pieces to the bottom of the card as seen above. I hand wrote my title but you can always use stamps!!! 


And there you have it!!! Cut elements from your pattern paper as I have done and add it to the heart for a finishing touch!! I hope this has inspired you to create outside your box using many different embellishments together to create a beautiful card. Don't forget to stock up on all your adhesive needs with XYRON!! I have been using this company for years and I love it!!!

Until next Fabulous Creation

Your Professional Designer and Educator

Angela Holt