Showing posts with label xyron blog hop. Show all posts
Saturday, December 13, 2014
30 Days of Holidays with Xyron Advent Calendar
Merry Christmas!!! Can you believe it, we are days away from the big day? I wanted to share with you a fabulous card that will really knock the mittens off of whom ever receives this card. It is really easy I promise. So let me tell you how to make this card!!!
1. You are going to pick and choose 2 pattern papers and color of cardstock to coordinate. Cut each piece to fit your measurements.. Above I have a 5x7 card! So in the pattern paper I cut the Green at 3.5 x 6.75 and the stripe at 1.5 x 6.75. run EACh PIeCE through your XYRON Creative Station MAX!! I love this Machine!!! Peel and still and BAM!!! you are a card making DIVA!!
To cover the seam between the two I ran a piece of ribbon down the middle using some Glossy Accents to adhere it.
Now for the main attraction. The Wreath!! Super Simple and Sooo Easy to make!!!
First you want to get about a dozen of what is called " clear Wheat sprays" you can find them here at Creating with Details Store.
Take the Wheat Sprays and place them in a ziplock bag. Add several drops of Alcohol Inks in shades of green to the bag and smush around until all wheat sprays are coated. Dump out onto a paper towel an let fry for only a few mins. super fast and easy!!!
Then begin using your hot glue and bend the sprays into a wreath style as you see above, I added red jewels as berries. To Finish off the wreath you can simply glue it to the card or you can make it into a removable ornament. The Choice is yours!!!
I hope this simply and festive card gives you a new take on making wreaths for the holidays!!! You will be making tons of these!!!
Again thank you so much for stopping by,
Your Professional Crafting Designer/Educator
Angela Holt
Thursday, August 21, 2014
Perfect Paper Crafting/Xyron Blog Hop
Hey Crafty Peeps!!! Yep I'm Back for another fabulous 6 months of Awesome projects to share with you!! This week I had the pleasure to work with my most Favorite adhesive XYRON and a awesome tool by Perfect Paper Crafting called the Perfect Airbrush! It is a no fuss approach to turning your markers into a Airbrush!! I was oober excited to work with this tool. Below is a quick mini tutorial showing what I did and how I used my Tim Holtz Markers to create this amazing FALL card!!! Before you scroll down be sure that you have begun the BLOG HOP by visiting the XYRON BLOG each day this week!!
BEGIN BLOG HOP HERE: http://aintshecrafty.blogspot.com/
Step 1: I found a free clipart image and or you can use a stamp of a tree with some leaves. I then pulled out some Fallish colors in my Tim Holtz Markers and began to play with the Perfect Airbrush. I began manually airbrushing different colors on the tree to give it that multicolored Fallish look!
Step 2: Using one of my Favorite XYRON 5" Creative Sticker Max I inked the edges of my design and ran it through to create a sticker.
Step 3: I did the same with the other elements of the card to create stickers and I used my XYRON 9" Creative Station to do so!! When you make everything into a sticker it makes is so easy to create. The adhesive is even strong enough to stick to burlap as you see below!!! Yep you can run the burlap through too!!! UMM YES!!!!
Step 4: Adding the few perfect touches of Twine and Burlap made this card perfect for FALL!! I added some Sticker letters and I was done!!!
Be sure to Hop along and gather tons of inspiration using the Perfect Airbrush tool by Perfect Paper Crafting and don't forget to sang you some XYRON products too!!! Visit the links and the blog and tell them I sent you!!! I look forward to bringing you tons of creative projects and inspiration!!! The Holidays are coming and I know it will be a blast!!!
Creative Hugs
Your Professional Crafting Designer/Educator
Angela Holt
Tuesday, July 1, 2014
Lawn Fawn/Xyron Blog Hop!!
Hello Crafty Peeps!! Angela here. I want to thank you for stopping by my blog to see what fabulous creation I made using the Summertime Charm Stamp Set. I think it turned out pretty cute!!! What is even more fabulous is there is a complete VIDEO TUTORIAL for you to follow my process!!! Woop Woop!! So please visit the link below to my video!!! Be sure to visit all the Designers Links to get inspired with other amazing projects using Lawn Fawn and Xyron Products!!! I dont know where I would be without my Xyron Products!!! Let me know if you have any questions!!!
Visit here to being the blog hop if you have started here!! http://aintshecrafty.blogspot.com/
Or you can visit the Facebook Page at : https://www.facebook.com/xyroninc
Product Used:
Xyron Sticker Maker Max
Xyron Mega Runner
Xyron 1.5 inch Sticker Maker
Lawn Fawn Summertime Charm Stamp Set
Cardstock
Ink
Pattern Paper
Hot Glue
Watch Video Here:
Friday, June 20, 2014
Summer Fun Xyron and Craftwell Blog Hop
Hey Crafty Peeps!!! We are so excited to bring to you the Summer Fun Blog Hop!!! The Xyron Designers and I are showcasing the wonderful embossing folders from Craftwell. Below is a step out tutorial of my up-cycle project.But First if you stopped by here first you will need to visit XYRONS FACEBOOK PAGE AND YOU WILL FIND THE BEGINNING LINK THERE!!! START HERE
Products Used:
Craftwell Embossing Folder Fanciful Flight A4
Xyron 5"Creative Sticker Max
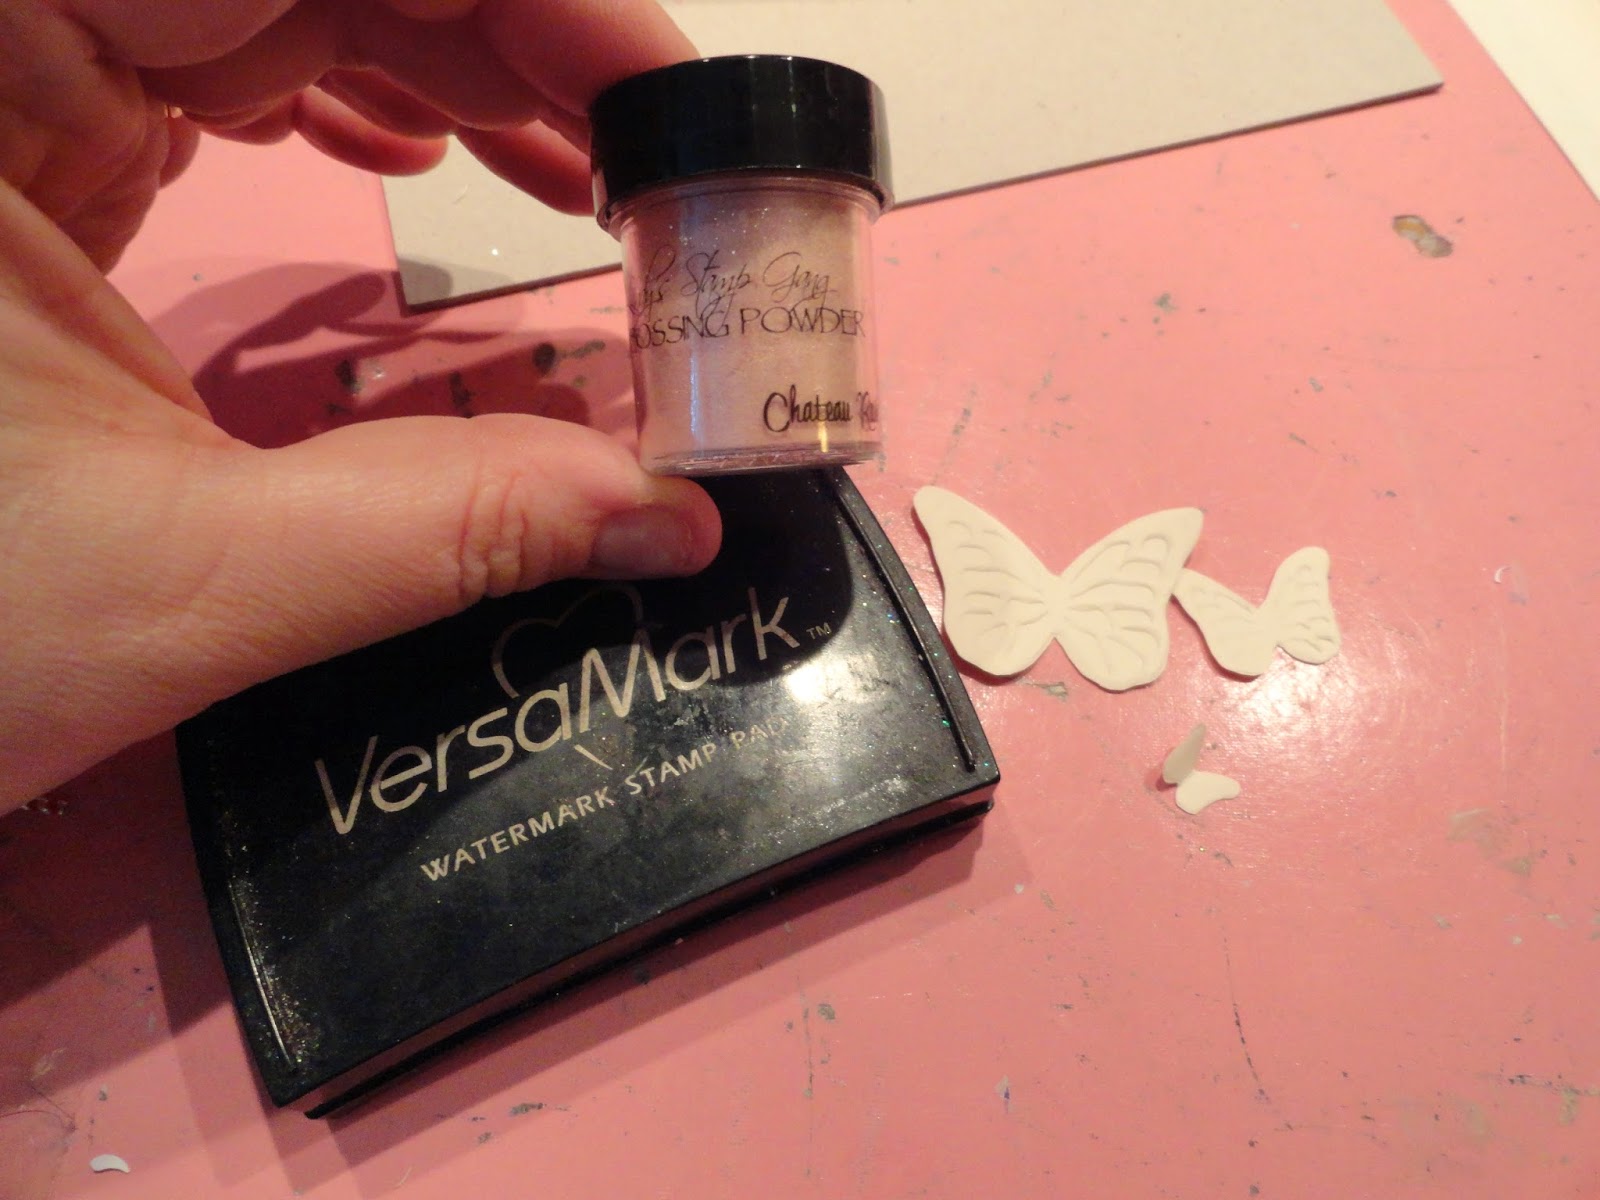
Lindy's Stamp Gang Tres Chic Embossing Powder Chateau Rose
Rhinestone Trim
Pink Ink
Heavy Weight Chipboard
Cream Colored Cardstock
Metal Filagrees
Liquid Glue
Run through the Xyron Creative Station Max 3 pieces of heavy weight cardstock that measures 2 @ 5 1/2 x 4 inches and the center binding pieces at 1/2 x 5 1/2 inches. Please the adhesive side down on to a piece colored card stock as seen above leaving a gab in between the pieces for easy folding.
Cover both the inside and outside of the book! Fold the book to help crease the binding!!
Cut two pieces of Pattern Paper to place on the inside of the book at 5 1/4 x 3 3/4. Run these through the Xyron Creative Station Max and adhere them inside the books covers. Take a dollar store mini paper pad and mini pin kit and glue them inside the book using liquid adhesive.
I then embossed another piece of paper with the same folder and cut out the butterflies. I then used the Lindys Stamp Gang Embossing Powder and embossed the butter flies. I then glued using liquid glue only the body section down leaving the wings free. I then added a bling trim down the center of the butterflies.
With added finishing touches, I add some metal filagree corners to the top and bottom and drew in the butterfly antennas. I wrapped some ribbon about the book and tied it for closure. See finished design below!!
And there you have it!! A sweet upcycled book that will be perfect for a gift to anyone!!! A Beautiful way to help take notes when needed!! I want to send out thanks you to Xyron and Craftwell for helping me create such beautiful projects. Be sure to check out ALL the wonderful inspiration from the fellow Designers of Xyron!!
Thank you for stopping by
Xyron Designer
Angela Holt
www.angelaholtdesigns.com
Subscribe to:
Posts (Atom)