Showing posts with label handmade card. Show all posts
Thursday, November 6, 2014
Xyron and Paper House Blog Hop
Hey Crafty Peeps!! This week the Xyron Design Team and I is celebrating the Great Outdoors with our friends at Paper House - tune in every day for projects, tutorials and giveaways that will make you think about "outdoorsy" paper and embellishments in a whole new light!
I have brought to you a day a quick and easy Card tutorial that gives you that feeling on a Cold Snow Topped Forrest. So lets get started with the tutorial!!
Products Used:
Xyron Creative Station 9
Xyron Mega Runner
Foam Tape
Paper House Productions "Roughin It" 3D sticker
Paper House Productions Outdoors Diecut Sticker Pack Used the Deer
Paper House Productions Camping 2 Cardstock Stickers
Paper House Productions Great Outdoors Paper Pad
Brown and Black Cardstock
Metal Embellishments
You are going to pick a great background paper from the Great Outdoors Paper Pad. I chose the Forest scenery. You are then going to run the Brown piece of cardstock and the forest print through the Xyron Creative Station. As you can see from the photo, I also cut out and ran through the Creative Station some border pieces that were also in the paper pack that I will use later.
Above I have cut out with my Silhouette Cameo some Pine trees and pine branches. I colored these using 3 different color inks to give it that real effect.
Then simply pulling from the stickers from Paper House Productions and the cut outs, I made a scenery of a forest. I used some snow flocking and my glossy accents to create snow tipped trees that you see below in the finished project.
As you can see, this just looks like a snowy scene that makes you want to be snuggled in a cabin with a warm cup of coco on a cold winter day! The odd trees you see in the background are from the Paper House production sticker packs and I use elements from these packs to create the sign!!!
If you are loving this card as much as I do, then head on over to the Paper House blog every day this week for even MORE great ideas - and they are giving away some of your favorite Xyron goodies as well! We want to share some of the Paper House products we are loving with you - so all week long we'll be having giveaways here on our blog as well. Just leave a comment and one lucky winner will win a fabulous prize!!!
I want to wish everyone a fabulous Crafty Day!!
Your Xyron Designer
Angela Holt
Saturday, October 4, 2014
Spellbinder and Xyron Design Team Project.
Hey Crafty Peeps!!! Cool air has rushed in here in Tennessee. The smells of Tobacco Barns and the vibrant colors of mums and pumpkins decorate the scenery. This has put me in the Fallish mood to bring to you a fabulous Card tutorial Using dies from Spellbinders and of course my Favorite Adhesive Xyon!! Below is a Step out tutorial I have created for you to show you how the process of this card came about. So come set a spell get warm and get inspired!!!
Supplies:
Spellbinders Nestabilities Majectic Squares
Xyron Creatopia Shapez Die By Spellbinders
Xyron Create Sticker Max
Xyron Create a Sticker 3"
Cardstock
Glitter
Pop Dot
Ribbon
Vintage Photo which is provided below!
Step 1 As you see in the photos above. You are going to prepare your image and your frame for the image. For the Frame I cut it out with black cardstock. Ran it through my Xyron Sticker Maker 3" then I added Black Glitter then I ran it back through so I could make it a sticker to be placed around the photo. To prep my photo I ran it through the same Sticker Maker and placed it on a piece of Chipboard for added strength. The Frame is from the Xyron Creatopia Shapez Die By Spellbinders
Step 2: you will cut out 3 styles of paper. From the photo above, I used a base cardstock, the corrugated piece and a pattern piece. They all measure. Base Card is 5 1/2 x 5 1/2 the Corrugated is 5 1/8 x 5 1/8 pattern piece 4 3/4 x 4 3/4. Run the Corrugated piece through the Xyron Create a Sticker Max.
Step 3: While the corrugated piece is still on the sticker paper, Use the cool NEW tool set from Core'dinations called Sand it Set and make the edges rough and torn.
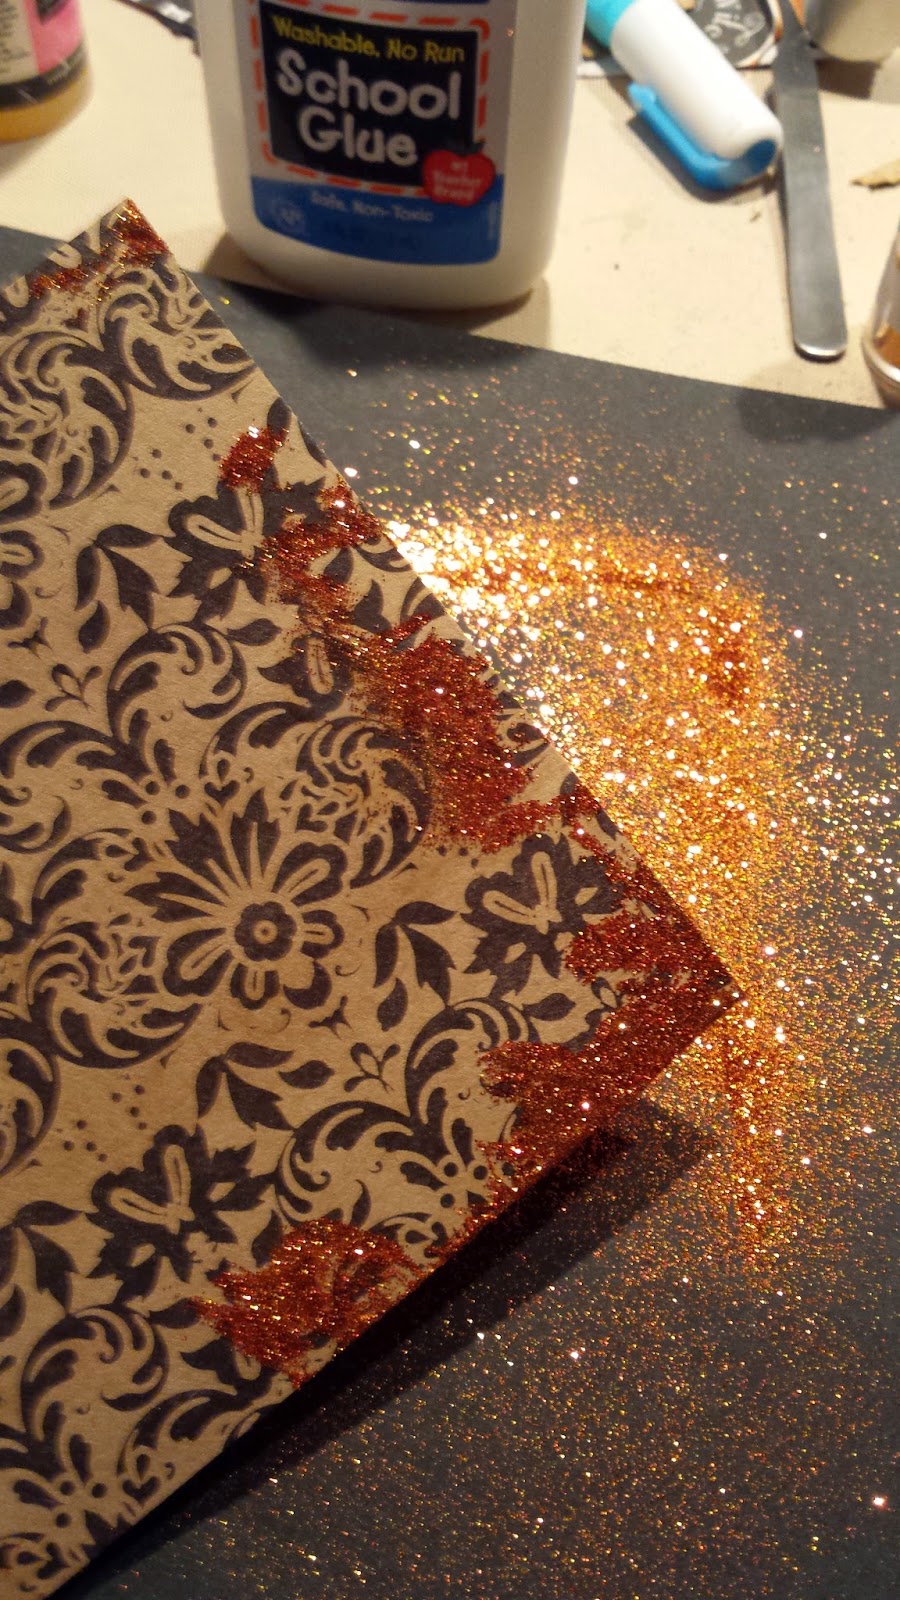
Step 4: Cut out from using the Spellbinders Majestic Squares dies in black cardstock. I used Silver Rub n Buff to give a old look. Pop Dot your photo onto this piece. and begin layering and added embellishements!! As see above I used Orange Glitter to bring out the Pattern Piece and to give the card more sparkle! Dont forget to run the pattern piece that is now glittered through your Xyron Create a Sticker Max to make it easy to peel and stick to build the card. SEE PHOTOS BELOW!!
The Haunted photo I used:
I want to wish you a fabulous HAPPY HALLOWEEN!!! I hope this card has given your inspiration to create some awesome and festive cards for all your friends this season!! Please be sure to comment below and let me know what you think!!! Again thank you for stopping by for another fabulous creation,
Your Professional Crafting Educator/Designer
Angela Holt
Supplies:
Spellbinders Nestabilities Majectic Squares
Xyron Creatopia Shapez Die By Spellbinders
Xyron Create Sticker Max
Xyron Create a Sticker 3"
Cardstock
Glitter
Pop Dot
Ribbon
Vintage Photo which is provided below!
Step 1 As you see in the photos above. You are going to prepare your image and your frame for the image. For the Frame I cut it out with black cardstock. Ran it through my Xyron Sticker Maker 3" then I added Black Glitter then I ran it back through so I could make it a sticker to be placed around the photo. To prep my photo I ran it through the same Sticker Maker and placed it on a piece of Chipboard for added strength. The Frame is from the Xyron Creatopia Shapez Die By Spellbinders
Step 2: you will cut out 3 styles of paper. From the photo above, I used a base cardstock, the corrugated piece and a pattern piece. They all measure. Base Card is 5 1/2 x 5 1/2 the Corrugated is 5 1/8 x 5 1/8 pattern piece 4 3/4 x 4 3/4. Run the Corrugated piece through the Xyron Create a Sticker Max.
Step 3: While the corrugated piece is still on the sticker paper, Use the cool NEW tool set from Core'dinations called Sand it Set and make the edges rough and torn.
Step 4: Cut out from using the Spellbinders Majestic Squares dies in black cardstock. I used Silver Rub n Buff to give a old look. Pop Dot your photo onto this piece. and begin layering and added embellishements!! As see above I used Orange Glitter to bring out the Pattern Piece and to give the card more sparkle! Dont forget to run the pattern piece that is now glittered through your Xyron Create a Sticker Max to make it easy to peel and stick to build the card. SEE PHOTOS BELOW!!
The Haunted photo I used:
I want to wish you a fabulous HAPPY HALLOWEEN!!! I hope this card has given your inspiration to create some awesome and festive cards for all your friends this season!! Please be sure to comment below and let me know what you think!!! Again thank you for stopping by for another fabulous creation,
Your Professional Crafting Educator/Designer
Angela Holt
Monday, May 12, 2014
Out on a Limb Scrapbooking Blog Hop featuring Xyron
Be sure to visit the XYRON BLOG Each DAY for more chances to win amazing prizes and to see what the other designers have in store for you!!!
Hello Crafty Peeps, welcome to the "Out on a Lim Scrapbooking" Blog Hop featuring Xyron
I'm so excited to bring to you a fabulous Card using the Monster Love Page Kit.
Supplies to make this card:
~The Monster Love kit
~ Xyron 9" Creative Station
~ Xyron Teresa Collins Adhesive Kit
~Xyron Mega Runner
~ Glitter ( I used Donna Salazar's Fairy Dust)
~Rhinestone Embellishments
~Black Ink
~ Clear Liquid Adhesive
~ Embossing Folder
Step 1: Pull out of the kit the Monster Love kit the Black Cardstock, the XO pattern Paper, and the Pink and Blue Pieces.
Step 2: Run the pink and blue pieces of paper through an Embossing folder of your choice. I used
Sizzix Textured Impressions Embossing Folders 2PK - Plaid & Snowflakes Set ( I used the Plaid Folder)
Step 3: Grab all of the Monster Parts in the kit that are pink!! Also at this time Grab out the hearts and the elements for the eyes. Pop dot the second layer of the Girl monster and adhere it to the body.
Step 4: Using the Xyron Creative Station 9", place the face of the monster upside down so that you can get adhesive on the front side of the face. This will give a perfect even adhesive for glitter.
Step: 5 Re-Run the face back through the creative station face up to create a sticker with all your pieces such as the pattern paper, the embossed papers, the eye elements and some hearts.
Step 6: Peel and stick all the piece of the Girl Monster together as you have seen above. Then peel and stick your back ground piece to the black cardstock card that has been cut to a 5x7 size. Trim down the XO pattern paper to 4 7/8 x 6 7/8.
Step 7: When you are ready to apply your Girl Monster, get the Pop Dots from the Xyron Teresa Collins Adhesive kit. These are thicker and will really make the little monster seem to jump off the page.
Step 8: Take a piece of Plain Cardstock from the kit and use your Xyron mega Runner to apply adhesive to the back and place it inside the card for the sentiment.
Step 9: Add hearts and rhinestones around the card and if you want to add some lasting touches you can use your clear adhesive and go over certain areas of the monster as you see below.
So there you have it!!! A Kit that can bring out an amazing card!!! Just think I;m left with tons of elements to make more cards!!!! I hope this has inspired you to think outside the box. And be sure to visit all of Xyron's Designers Blogs for more inspiration!!!
Your Professional Crafting Educator and Designer
Angela Holt
Tuesday, April 29, 2014
Xyron/Paper Smooches Blog Hop
Here is what you will need:
Xyron Creative Station 9"
Xyron Teresa Collins Sticker Maker
Paper Smooched "Spiritual Sampler Stamp Set
Pattern Paper ( I used Docrafts 8x8 Paper stack called "Lincoln Linen")
Matching Cardstock
Doily or Doily Die ( I used Cheery Lynn Designs Doily Die DL102)
A Butterfly Shape ( I used Memory Box Pippi Butterfly Die)
Burlap
Hot Glue
Flat Backed Pearls
Various Flowers
Pearl Trim
Border Die or punch to cut out a Border ( I used Xcut Border Punch Leafy Lace)
Step 1: Gather your Supplies and cut your cardstock at 5x7 inches and one pieces of pattern paper at 4 3/4 x 6 3/4 inches. Cut another style of pattern paper piece at 7 x 2 1/2 inches. The Burlap is cut at 6 x 2 inches. Also die cut your pieces from dies, punches or electronic cutters. NOTE: I cut my doily out of vellum.
Step 2: Ink all the edges of your paper pieces with a ink of choice I used Tim Holtz Antique Linen.
Step 3: Run your two pattern pieces through the Xyron Creative Station so that they are easy to apply by peel and sticking to you card.
Step 5: Fold you doily in half and adhere down with hot glue.
Step 6: Punch out your border of choice out of white or colored cardstock and run it through the Xyron Teresa Collins Sticker Maker to create a stick for easy application. Once the border is applied, add a fused beaded trim on top edge.
Step 7: Add flowers, the cut out butterfly and a piece of feather (optional).
Step 8: Choose and amazing sentiment for your card using the fabulous Stamp Collection from Paper Smooches. I chose the sentiment "Allow Faith to be your Guide" from the Spiritual Sampler. I stamped the piece onto a matching piece of cardstock, inked the edges, snipped tails at the end and applied to the card with hot glue!!!
Finally add a touch of Flat Back pearl to the lower corner and where ever you want to add them. There you have it!! A beautiful card ready to be sent to that special someone that need God's uplifting grace. I want to send out a THANK YOU to Paper Smooches for such wonderful products to work with and to Xyron for providing amazing tools to help create my projects!!! Be sure to follow all links and if you have any questions please let me know!!!
Your Crafting Designer and Educator
Angela Holt
Subscribe to:
Posts (Atom)