Thursday, October 30, 2014

2014-2015 Creating With Details Design Team

The 2014-2015 Design Team as been picked!!! Mai and I want to thank everyone who applied. The choices were hard but we feel that we have picked a fabulous team that will inspire, motivate, and entice you to learn in a innovative fun way!! I would like to announce the following!! Please follow the link to learn more about each Designer and begin to follow all their links!!!


Congratulations to the following!


2014-2015 Creating With Details Design Team


Angela Holt is Creating with Details Social Media Coordinator
She is a Professional Crafting Educator/ Designer in the Crafting Community!

Blog/Website www.angelaholtdesigns.com
Youtube Channel: https://www.youtube.com/user/angelaholtdesigns
Twitter: https://twitter.com/AngelaHDesigns
Pinterest: http://www.pinterest.com/angelahdesigns/boards/
Google+: https://plus.google.com/u/0/+AngelaHolt/posts


 Blog     http://beeceecreativity.blogspot.com/
YouTube Channel    beecee1000


Congratulations Ladies!!!
 

Monday, October 20, 2014

Xyron DT Project Featuring Core'dinations and Petaloo

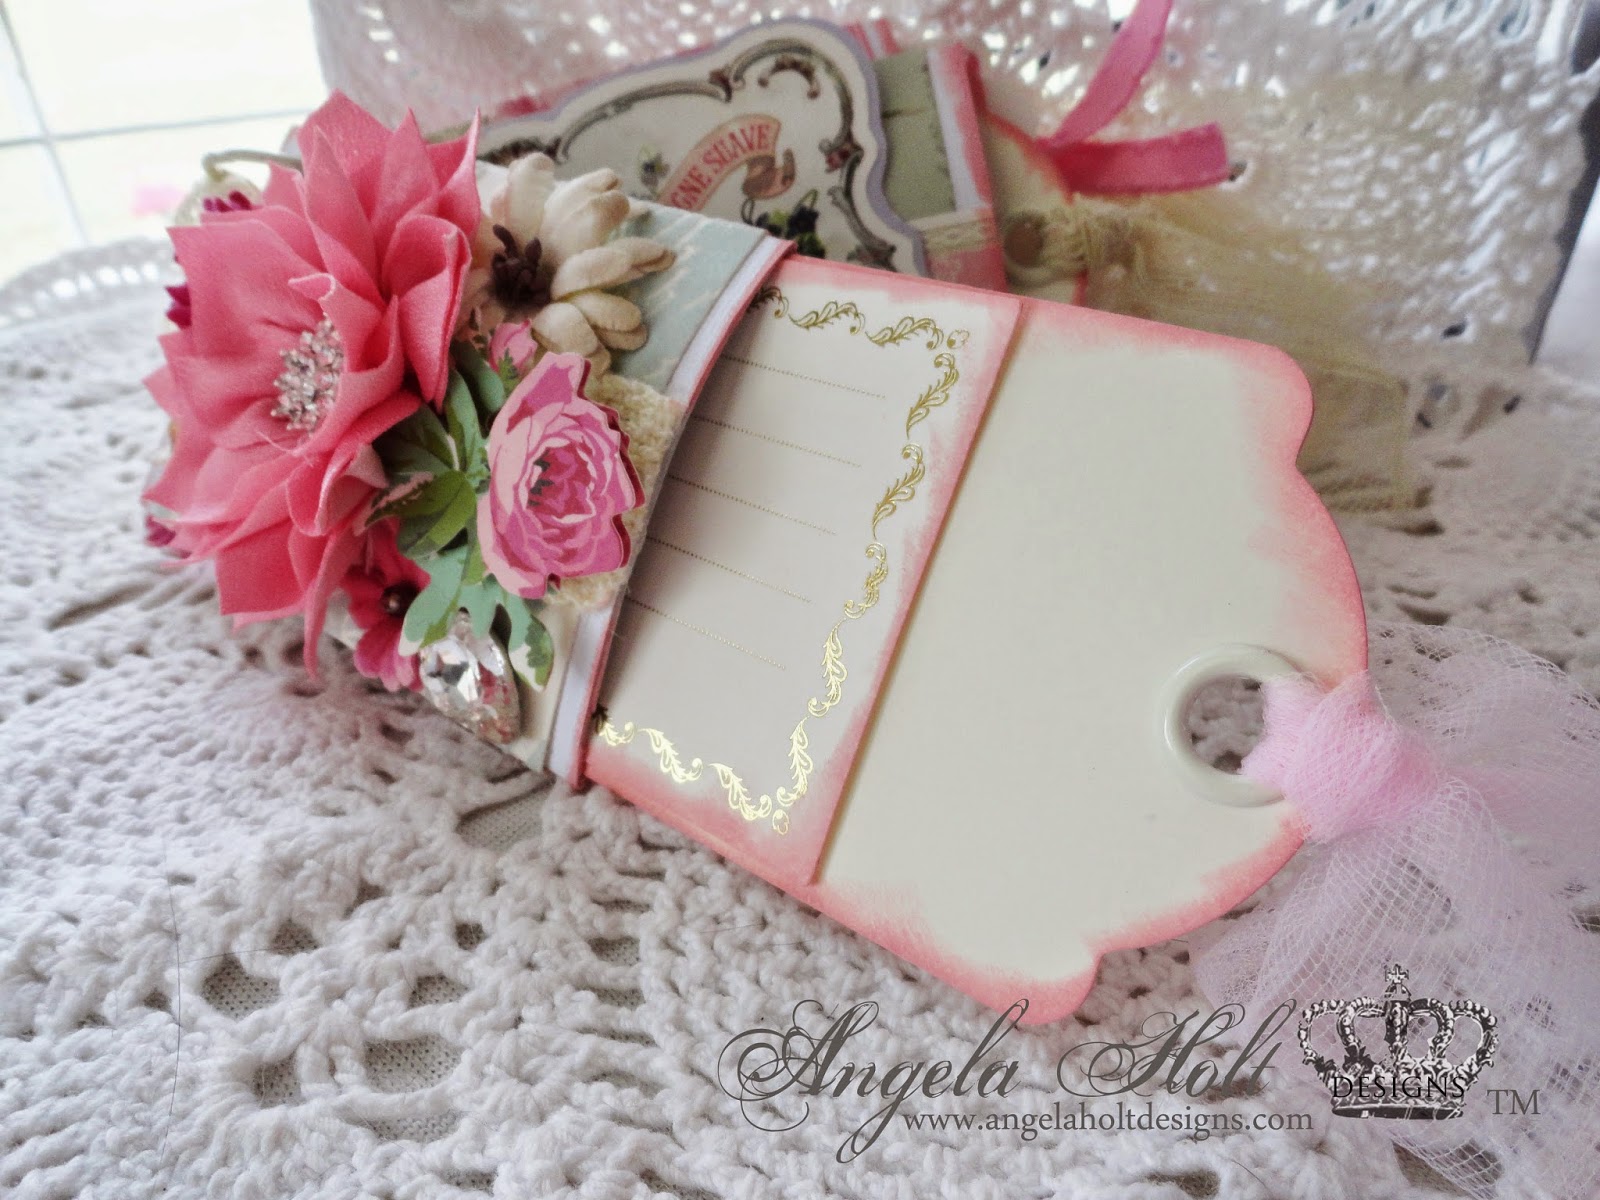
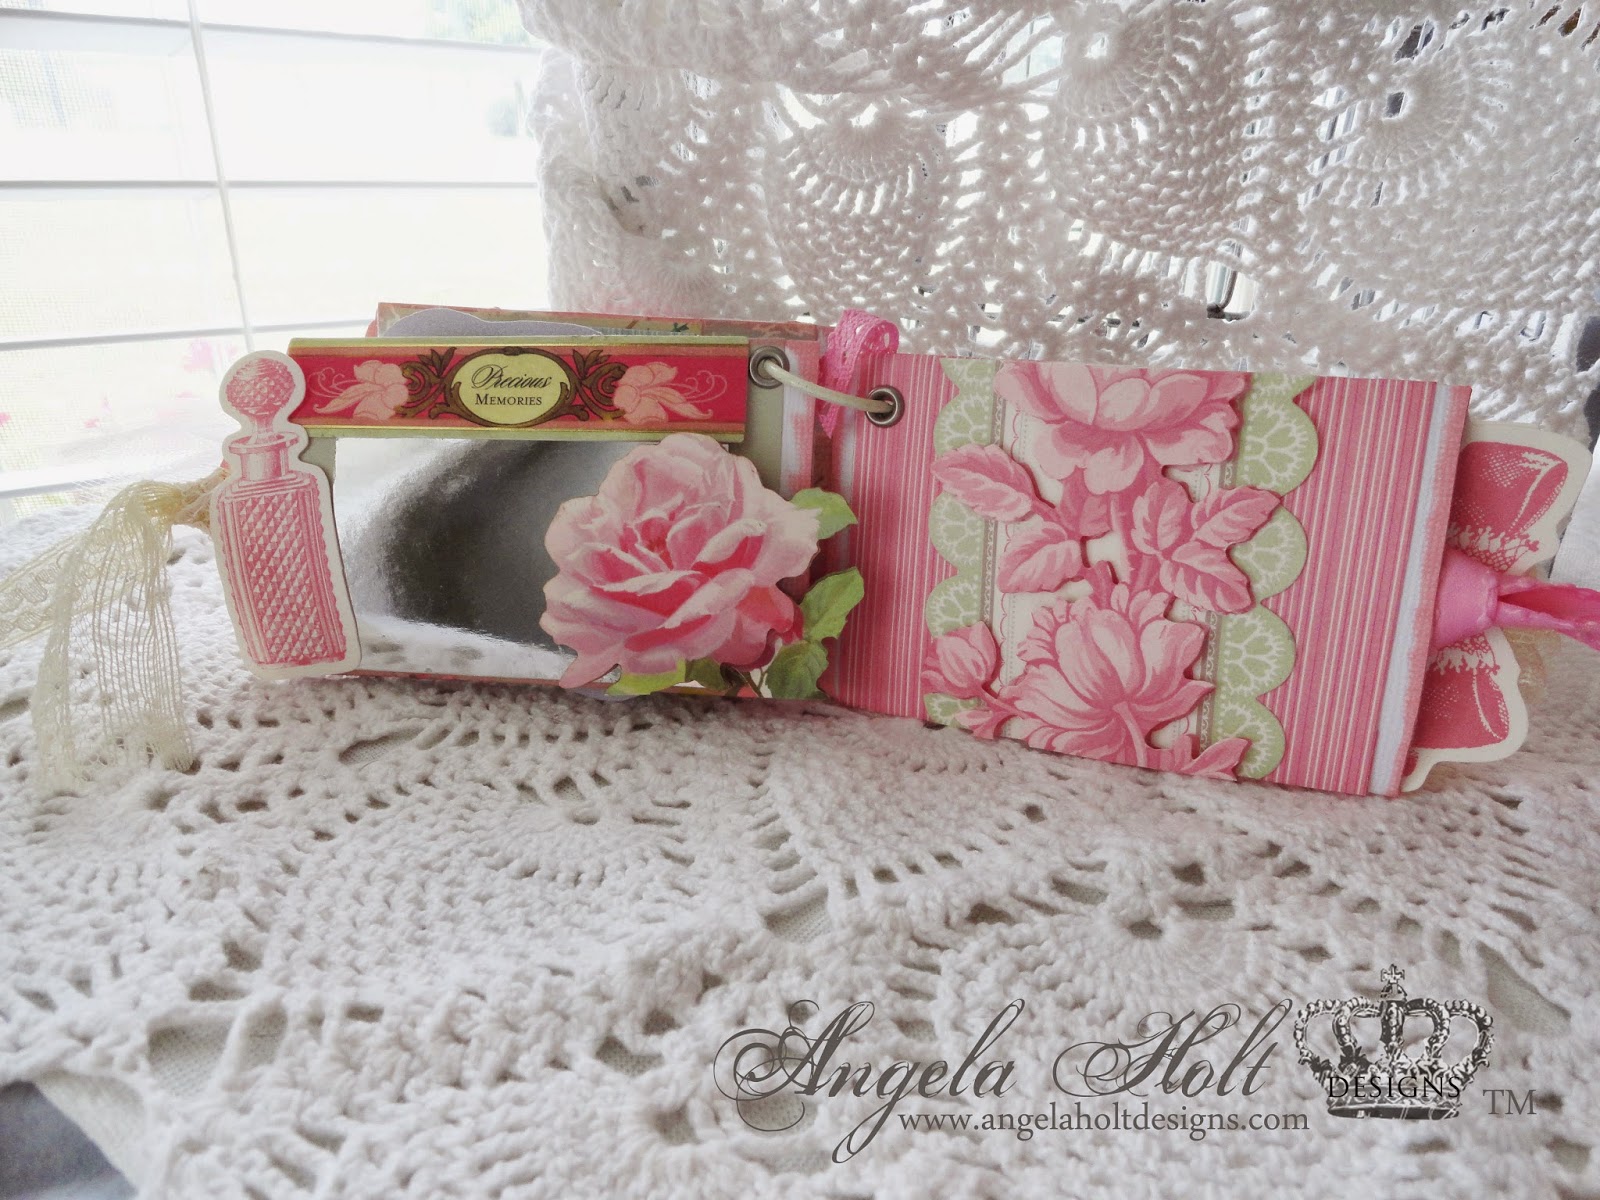
Hey Crafty Peeps!!! I come to you with my Xyron DT Hat on bringing you a fabulous project I created featuring Petaloo International and Core'dinations. I brought to you a fun quick and easy tutorial show you how to make a Toilet Paper Roll Mini Album. Below you will see a video that you can find on my youtube channel showing how I put this together and explaining all the details!!!


I hope this inspires you to save those rolls that we always throw away an create something fun and exciting.

Products used:

Petaloo Darjeeling Paper Flowers 

Core'dinations Coressentials Neutrals 4.25x5.5 Paper Pad

Xyron Create a Sticker Max
Xyron Mega Runner
Xyron 3 inch Sticker Maker

Anna Griffin Papers

Personal Embellishments


Please watch my blog or you can click to watch over on my channel!!! While your there feel free to subscribe to my channel where I do many video tutorial too!!! Stay Crafty and Get Inspired!!

Your Xyron DT
Angela Holt


Sunday, October 19, 2014

Deflect-O DT Project Halloween Mobile

Deflect-o is known for it's amazing innovative tools to help bring your business and now crafting to life. As a Deflect-o DT it is my job to show more crafty innovative ways to create with such products. Today I bring you a Halloween Mobile I made using 3 amazing products from Deflect-o. So let me begin telling what I did!!!


Okay the above photo is my Halloween Moblie using Proucts from Defelct-o and other embellishments from my stash. Let me get into how I altered and what products I used.


The Photo above shows you a Deflect-o product called "Flexible Sign Dangles". These are Flexible light weight trips of metal that have adhesive on each side. What I di was bend 3 of them to form a circle using the adhesive to glue them. I then covered the circle in 1 layer of Black Tulle and then wrapped a decorative ribbon on top of that. The points where you see the skeleton hands, I hot glued black string that was glue in 3 different points. The string was brought to the top and clipped as well as decorated with the next Deflect-o product I used.


The top of the mobile is clipped with a Deflect-o Versagrip Sign Holder clip. This duel Clip on both ends allow you to clip your project, tag or signage and them clip it to something in all sort of directions. The Ball design you see in the center allows you to pivot and turn your creations and this opens to new ways to hang your projects. I glued a tulle an two ribbon bows to the base of the bottom clip and added a fun sticker in the center.


The next product from Deflect-o I used is called Sign Tags Wet Erase. These snazzy tags are made of a black plastic and come with a dry erase marker for your to add anything you want to them. You can cut them easily with scissors as I did above and make them into anything you would like. I cut mine in 2x2 inch squares an I hug 3 of them to spell out the word "BOO". Used my hole punch to create a hole for the decorative ribbon.


Now Check out all the photos below for more details I added to the Mobile. I think it turned out pretty awesome if you ask me!! Let me know if you have any questions about any of the products I have used in this project. I do hope you find inspiration in your Holiday crafting!!

Your Deflect-o Designer

Angela Holt


Friday, October 17, 2014

Wild Orchid Craft Design Team Project Altered Key

Hey Crafty peeps!!! Today I'm bringing to you a Fabulous sweet tutorial on how to alter a Key using Wild Orchid Craft Products. In this step by step Video tutorial I show you how to use several elements in decorating the large keys that we always see a Michaels. I hope this tutorial gives you a different perspective and inspiration to alter keys.

Products Used:

WOC MIXED PINK FLOWERS & RHINESTONE EMBELLISHMENT STARTER PACK

WOC CABOCHON ANGELS


Watch the video below!!


Thanks for stopping by!!!! Please Sub to my Channel and here on my Blog!!! ALSO>>>>>
When you order your Wild Orchid Craft Products, at the time of check out use Coupon Code ANGELA10 for some savings!!!

Again Thank you for stopping by!!!

Your Wild Orchid Craft Designer

Angela Holt

Saturday, October 4, 2014

Spellbinder and Xyron Design Team Project.

Hey Crafty Peeps!!! Cool air has rushed in here in Tennessee. The smells of Tobacco Barns and the vibrant colors of mums and pumpkins decorate the scenery. This has put me in the Fallish mood to bring to you a fabulous Card tutorial Using dies from Spellbinders and of course my Favorite Adhesive Xyon!! Below is a Step out tutorial I have created for you to show you how the process of this card came about. So come set a spell get warm and get inspired!!!

Supplies:
Spellbinders Nestabilities Majectic Squares
Xyron Creatopia Shapez Die By Spellbinders
Xyron Create Sticker Max
Xyron Create a Sticker 3"
Cardstock
Glitter
Pop Dot
Ribbon
Vintage Photo which is provided below!


Step 1 As you see in the photos above. You are going to prepare your image and your frame for the image. For the Frame I cut it out with black cardstock. Ran it through my Xyron Sticker Maker 3" then I added Black Glitter then I ran it back through so I could make it a sticker to be placed around the photo. To prep my photo I ran it through the same Sticker Maker and placed it on a piece of Chipboard for added strength. The Frame is from the Xyron Creatopia Shapez Die By Spellbinders


Step 2: you will cut out 3 styles of paper. From the photo above, I used a base cardstock, the corrugated piece and a pattern piece. They all measure. Base Card is 5 1/2 x 5 1/2  the Corrugated is 5 1/8 x 5 1/8 pattern piece 4 3/4 x 4 3/4. Run the Corrugated piece through the Xyron Create a Sticker Max.


Step 3: While the corrugated piece is still on the sticker paper, Use the cool NEW tool set from Core'dinations called Sand it Set and make the edges rough and torn.


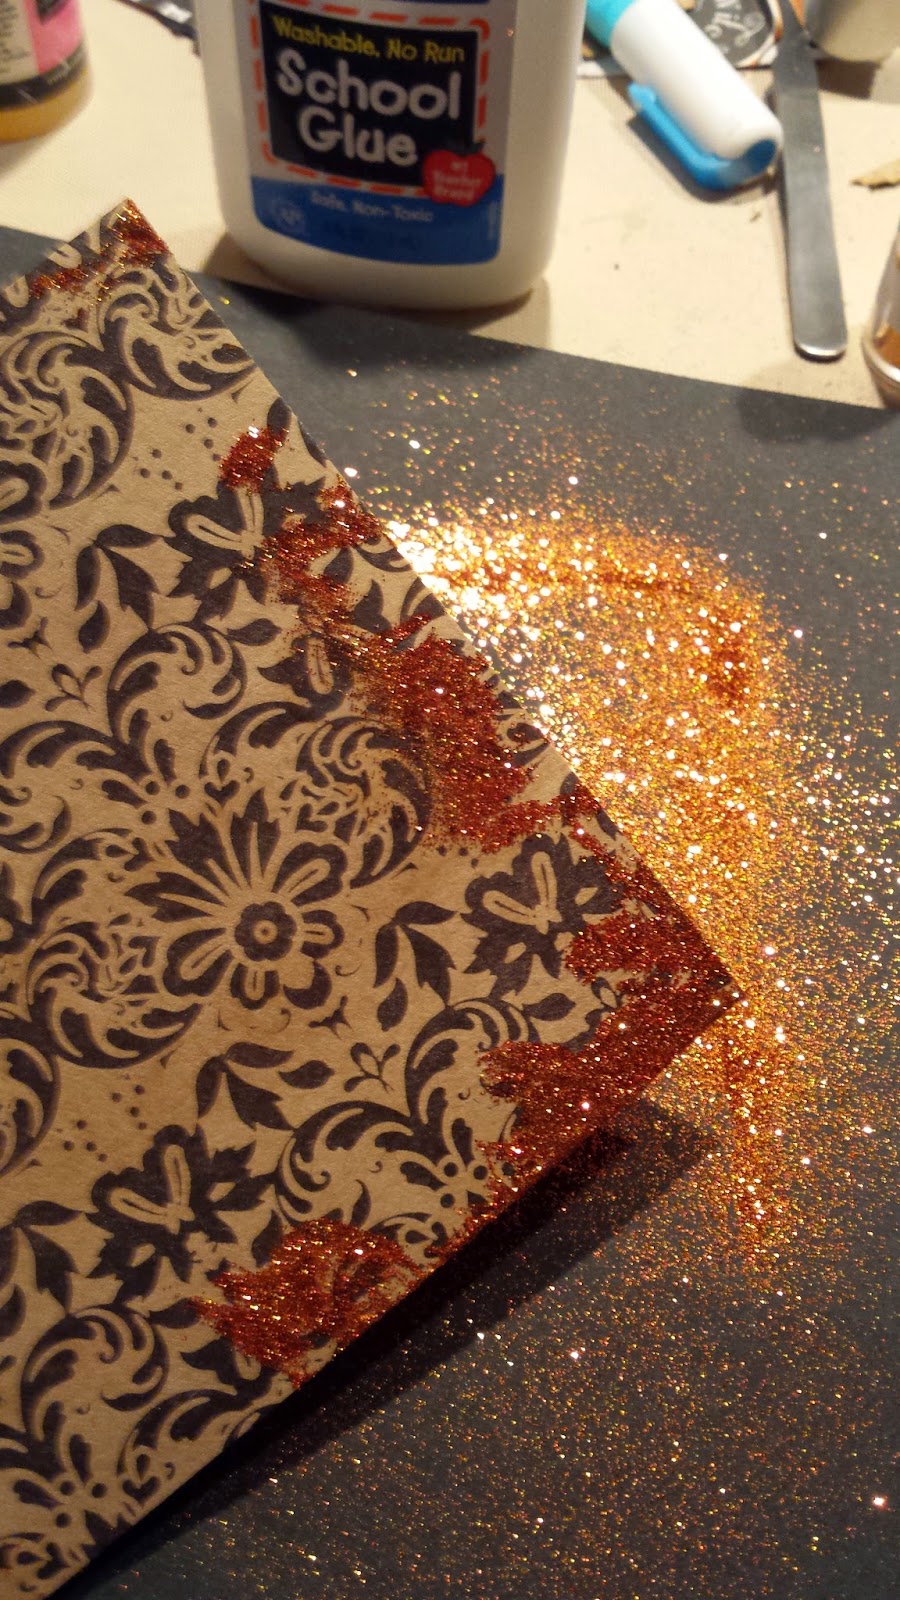
Step 4: Cut out from using the Spellbinders Majestic Squares dies  in black cardstock. I used Silver Rub n Buff to give a old look. Pop Dot your photo onto this piece. and begin layering and added embellishements!! As see above I used Orange Glitter to bring out the Pattern Piece and to give the card more sparkle! Dont forget to run the pattern piece that is now glittered through your Xyron Create a Sticker Max to make it easy to peel and stick to build the card. SEE PHOTOS BELOW!!


The Haunted photo I used:


I want to wish you a fabulous HAPPY HALLOWEEN!!! I hope this card has given your inspiration to create some awesome and festive cards for all your friends this season!! Please be sure to comment below and let me know what you think!!! Again thank you for stopping by for another fabulous creation,

Your Professional Crafting Educator/Designer

Angela Holt