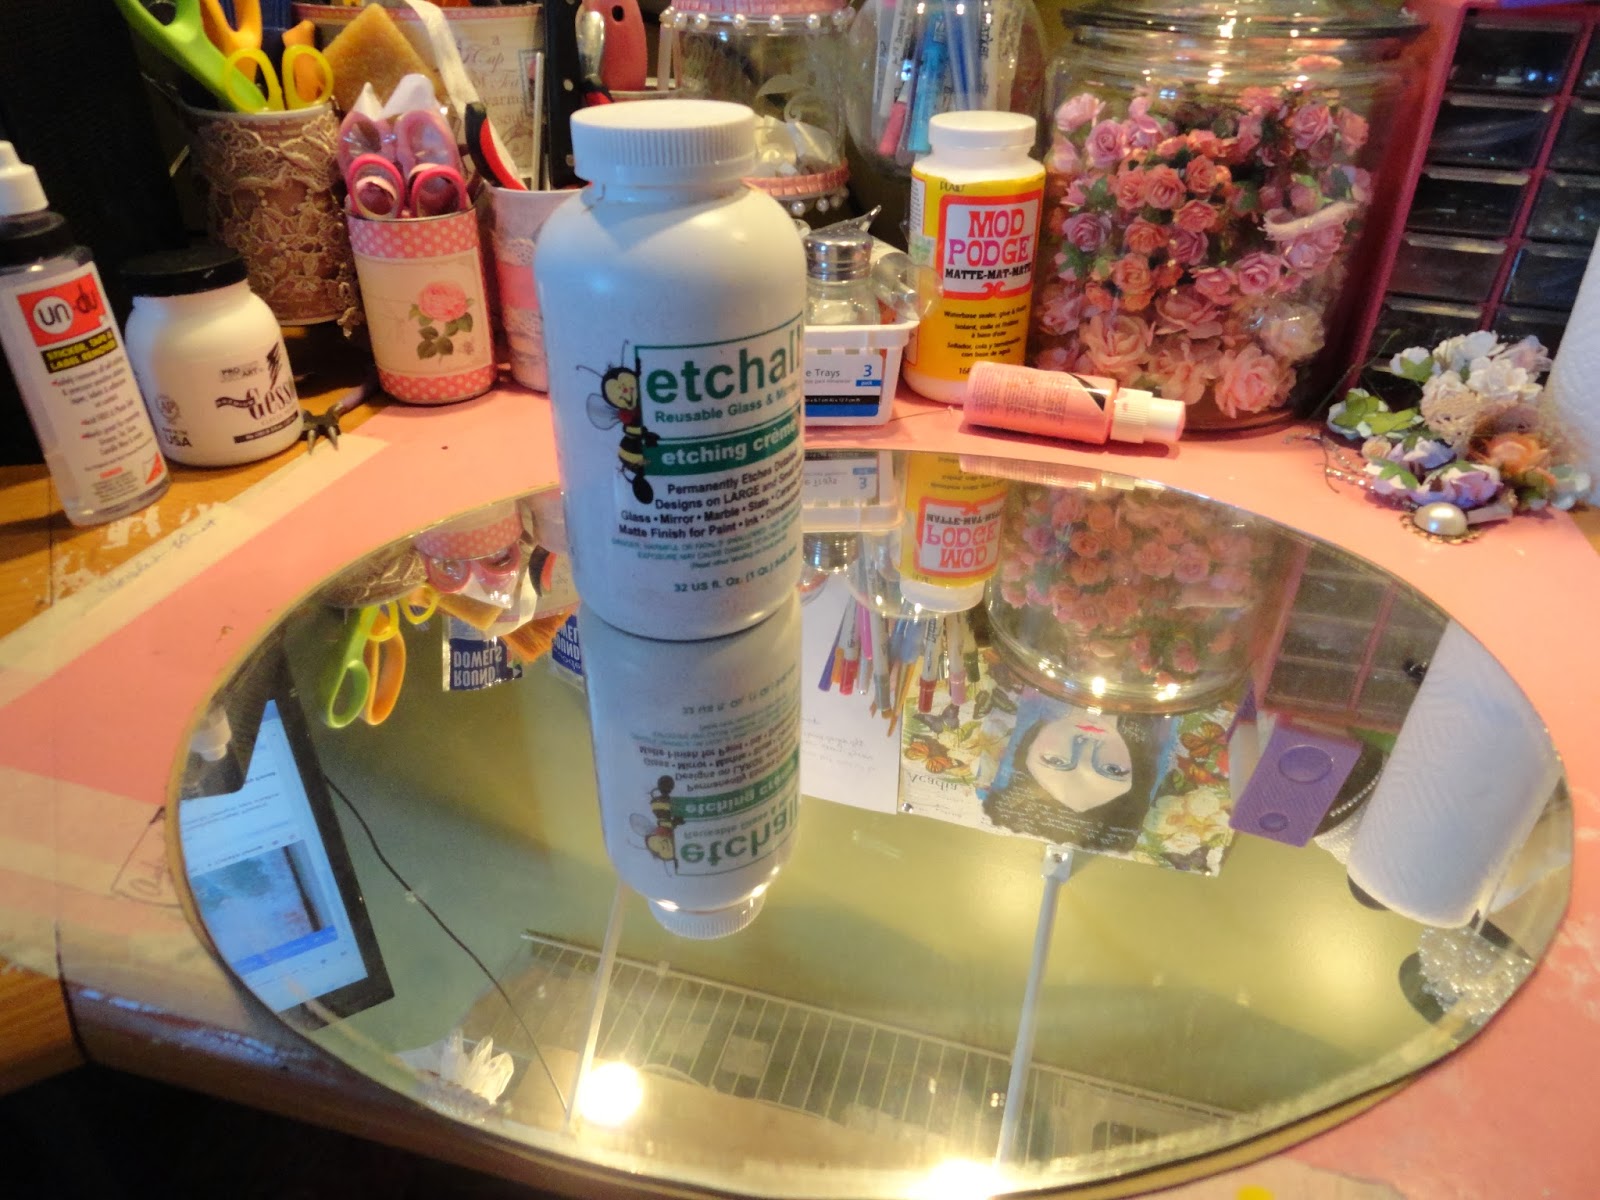
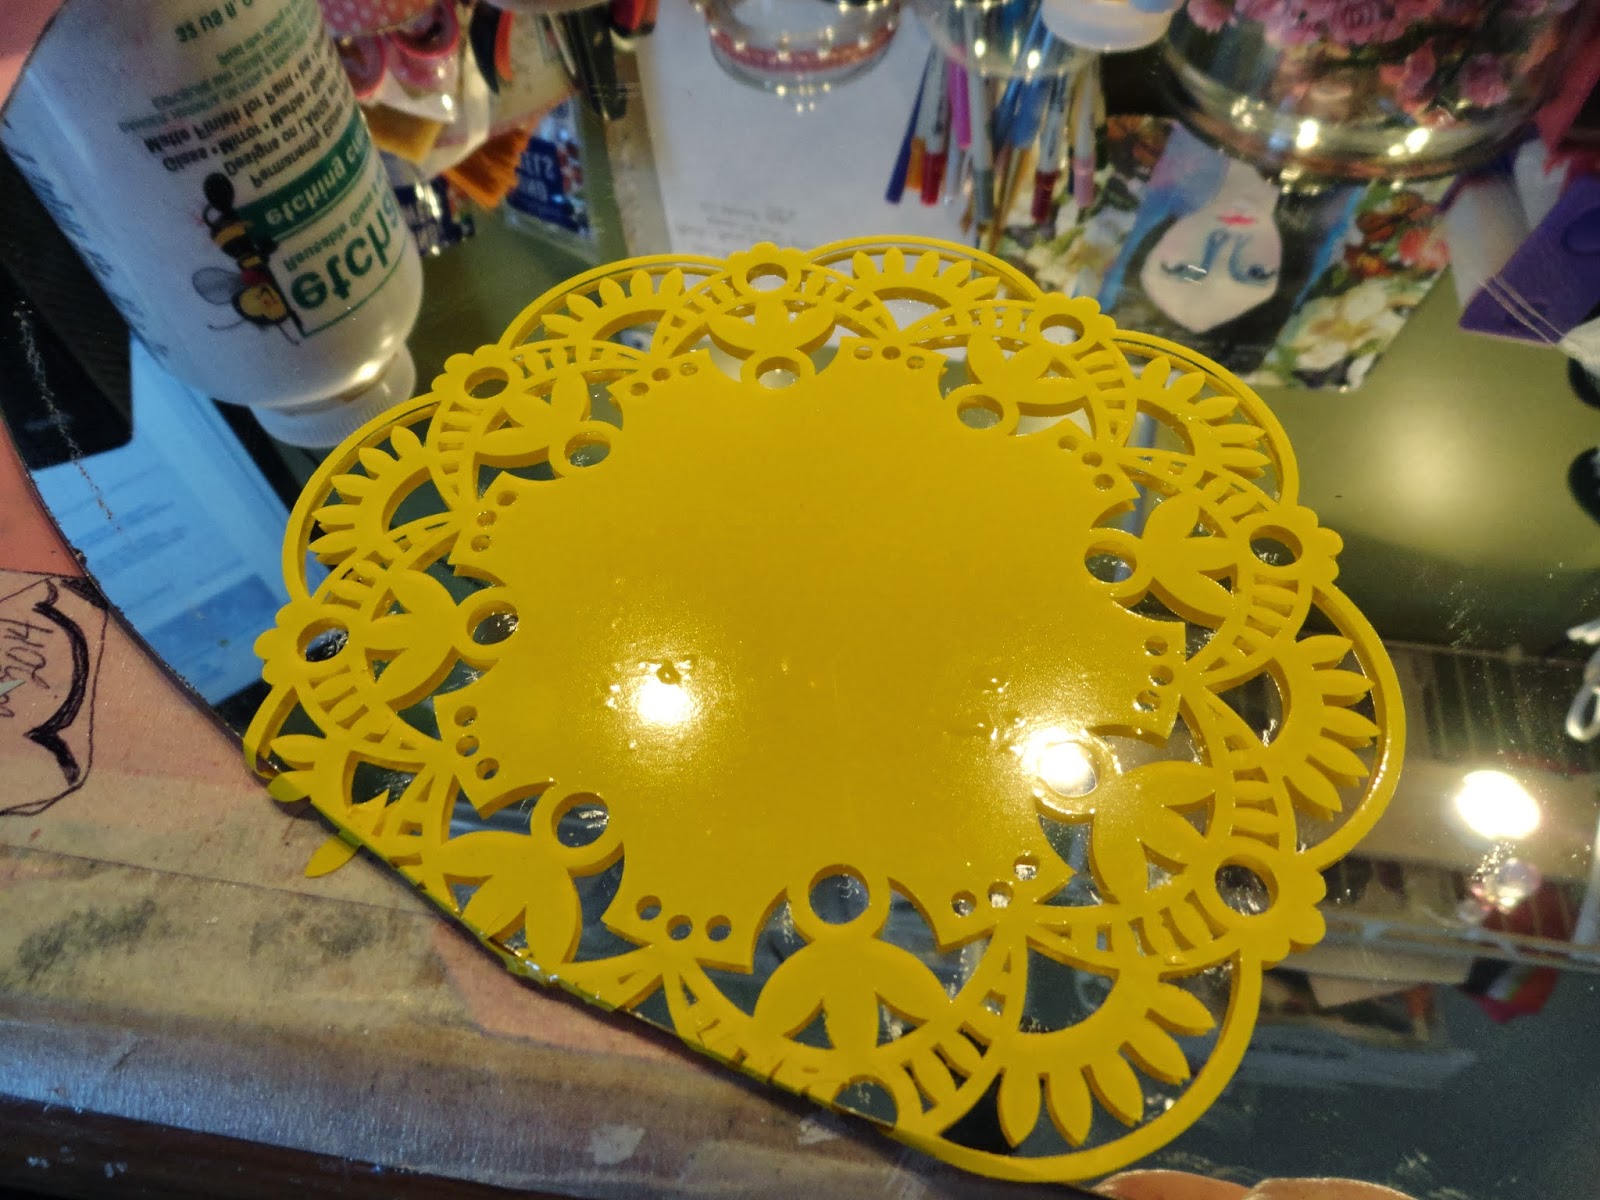
Showing posts with label Etchall etching Cream. Show all posts
Tuesday, March 4, 2014
Saturday, March 1, 2014
Etched Glass Miniature Bottle
Hey Crafty Peeps, here is another amazing way you can use Etchall in your Mixed Media Crafting!! We all know and love those tiny Miniature bottles that we have used several times. I have seen them decorated in soooooo many fab ways. I thought why not pull out my Fabulous Etchall Etching cream and Etch a beautiful design on to the glass. So I did and here are the results!!
As you can see from this photo above, I have etched a beautiful butterfly onto the glass using the steps I have taught you many times!!! You can find these steps in my Etchall Videos on my Youtube channel. The etched butterfly is a die cut from Memory Works and it is called "Pippi Butterfly" and I purchase this die from http://www.craftycity.com/ The base you see here is a metal filigree from Miriam's Crafting Supplies
The top or the cork was painted in silver acrylic paint. I then took a glass bead, a tear drop pearl and a fab bead cap in the shape of a Lilly and glue these pieces to the top of the jar.
To finish off the piece, I added a sheer bow, a tear drop flat backed pearl that can also be found at Miriam's Crafting Supplies and them I stuffed the jar with 3 paper roses to have some shabby chic goodness and a touch of pink to the finished piece.
This mini tutorial is intended to show you the diversity of projects and ways that you can use Etchall Etching Cream. This product surpasses any other on the market. It is true to its name and the results are amazing each and every time!!! This product is a must have staple in your crafting stash!!!
Visit all the links I have shared and show some love to each!! Also, visit www.Etchall.com and order your products and tools!!! I always keep the following in my crafting studio!!
Etchall Etching Cream
Etchall Dip and Etch
Etchall Squeegee Tool
Etchall Combo Swivel Set
Ethcall Etching Mask
Etchall Etching Mask Transfer Paper
Ethcall Resist Gel
Let me know if you have any questions!!!
Your Professional Crafting Designer and Educator
Angela Holt
VIDEO TUTORIAL COMING SOON FOR THIS PROJECT!!!
As you can see from this photo above, I have etched a beautiful butterfly onto the glass using the steps I have taught you many times!!! You can find these steps in my Etchall Videos on my Youtube channel. The etched butterfly is a die cut from Memory Works and it is called "Pippi Butterfly" and I purchase this die from http://www.craftycity.com/ The base you see here is a metal filigree from Miriam's Crafting Supplies
The top or the cork was painted in silver acrylic paint. I then took a glass bead, a tear drop pearl and a fab bead cap in the shape of a Lilly and glue these pieces to the top of the jar.
To finish off the piece, I added a sheer bow, a tear drop flat backed pearl that can also be found at Miriam's Crafting Supplies and them I stuffed the jar with 3 paper roses to have some shabby chic goodness and a touch of pink to the finished piece.
This mini tutorial is intended to show you the diversity of projects and ways that you can use Etchall Etching Cream. This product surpasses any other on the market. It is true to its name and the results are amazing each and every time!!! This product is a must have staple in your crafting stash!!!
Visit all the links I have shared and show some love to each!! Also, visit www.Etchall.com and order your products and tools!!! I always keep the following in my crafting studio!!
Etchall Etching Cream
Etchall Dip and Etch
Etchall Squeegee Tool
Etchall Combo Swivel Set
Ethcall Etching Mask
Etchall Etching Mask Transfer Paper
Ethcall Resist Gel
Let me know if you have any questions!!!
Your Professional Crafting Designer and Educator
Angela Holt
Friday, February 28, 2014
Etched Doily Mirror Revamp
Step 1 I began by painting the inside frame with Gesso becuase I wanted a White Background!!
Step 2 I folded the Doilies in half and glued the first layer to the frame!!! Noticed that I only Gesso painted what I needed.
Here is what the first Layer looks like!!
I added another layer and this is what it looks like!! The Double layers make for a better look!
Step 3 I took some sheer embroidered lace and glued it around the mirror. I created ruffles as I went around!
Here are the results!! Now that the frame is finished, now we need to decorate the glass!!!
Etchall is the leading product in etching glass. The results can not be created with any other product on the market as Etchall provides!!! Every piece I create always comes out amazing!!!! So lets get to the tutorial of this step!!!
Step1 you pick a design you would like to etch, which in the case was doily patterns. You will cut your chosen design out on the Etchall Etching Vinyle then place a piece of Etchall Etching Mask a top the design.
Step 2 you will then peel the backing off revealing the sticking side of the vinyl.
Step 3 Place the design onto your mirror sticky side down and use your Etchall squeegee tool and burnish and press the design to the mirror for good contact.
Step 4 remove the etching mask revealing the design.
Etchall has this amazing product called Gel Resist. It does as it says, it resists the etching cream. So you will apply it to the areas that you do not want the etching cream to etch.
Step 6 Use the resits gel around the cut image. As you see above I used a paint brush to apply the Gel. The Gel begins green and when it drys clear which takes about 30 mins and this time depends all on how thick you applied it too. You are ready to apply your etching cream!!
Step 7 apply your etching cream as seen above making sure that you have a thick coating to where you can hardly see your design. The thicker the coating, the better the results!!!
Step 7 After the 15 mins have elapsed, you will scrap back off the etching cream and return it to the bottle for another etching. That is what is amazing about Etchall Creams and Dips. They are reusable which will lend you tons of etching projects.
Step 8 take your project and rinse under water the remaining etching cream and to remove the etching mask. It is much easier to remove the mask undeer water for it releases the adhesive.
Finally, clean and dry your project and reveal your amazing results!! As I have always said Etchall products are the best on the market and will always give you professional results every time if you follow the simple steps!!
Now here is my Etched Mirror that has been revamped!!! It went from a Thrift Store find to something simply divine!!! So I hope this inspires you to take those ugly things you have hidden and rethink the possibilities of what they can truly be!!!
Thank you for stopping by
Your Professional Crafting Designer and Educator
Angela Holt
Sunday, February 2, 2014
Valentine Etched Glass Mason Jar
Love is in the air and I had to make a jar!!! Using the fabulous product Etchall, I knew what I had envisioned would be fabulous and it was!!! Read Below how I made this jar!!!
Now as you can see I have a clear and crisp etch. Just fabulous!!! Now I wanted to take this etching a step further by using acrylic paint and some Lindy's Stamp Gang Ramblin Rose Pink Spray.
I got my Clear Glass Mason Jar at the Local Hobby Lobby
I chose a fabulous saying and cut it out with my electric cutter on to the Etchall Etching Mask
I then took my Etchall Etching Mask Transfer paper and sandwiched it by pulling back the top layer of the etching mask transfer sheet. I used the Squeegee tool to burnish and press the layers to make sure of good contact for the transfer.
I cut out the shape and them removed the backing of the transfer paper to reveal the sticky side of the Etching Mask
Take your squeegee tool and press the layers onto the jar making sure there are no bubbles and to make sure that you have a good contact!!
Once you have pressed the layers onto the jar, then pull off the top layer of the etching mask transfer sheet to complete the transfer.
Very IMPORTANT< I always use masking tape or painters tap to tape off the areas that you do not want etched!! This lends you to have a clear, crisp etch!!
Apply a thick layer of the Etchall Etching Cream to the area you want etched. The thick coating will allow for a perfect and uniformed etch!!
Now watch the video below to see how I made the above shabby chic look to this jar!!!
NO SOUND TO VIDEO!!!
Now that I have the jar painted and ready for more shabby chic decor, I knew I wanted to do something different to the lid!! As you see in the photos below, I added pearl trim to the rim of the lid and then added clusters of pearls to the top of the lid by using hot glue!!
Here is the finished look of the Jar lid which I find simply fabulous and will be using this technique again!!!
Taking my Bow it All and making a bow to finish off the look!!! Check the photos below for the complete project!!
Dont you love how this turned out? I sure too and will be showing you more ways to paint with etched glass using the number one etching cream on the market, Etchall!!
If you have any questions about this project or about Etchall, let me know and I will be more than happy to help you get started on the etching journey!!!
Be sure to share and show some love by subscribing to my blog!!!
Your Professional Crafting Educator and Designer
Angela Holt
Thrift Store Etched Glass Frame Tutorial!
Hello Crafty Peeps!!! I wanted to share with you a fab Thrift Store find that I revamped for my home. I found this frame for $2 and I knew right them I wanted to Etch it with non other than the fabulous and Best etching cream on the market, "Etchall". So let me tell you what I did step by Step and I hope this inspires you to introduce Etchall into your crafting.
Take the back layer of the Etching Mask off to reveal the sticky side of the Etching mask. This side will be stuck to your project as show below!
I changes the design but the steps are all the same!!! As you see above I have transferred this design on to the glass frame. Remember that Etchall has all these same steps inside their etching transfer paper packaging. Plus I have tons of recorded video tutorials also on my youtube channel to help you with the above steps.
I cleaned the frame and got out my Etchall Etching Cream.
Cut your design out on the Etchall Etching Mask
Peel back the top layer of the Etching Mask Transfer Paper and place your designs face up!!
Take your squeegee tool and run over the etching mask and etching mask transfer paper to make sure that you have good contact for the transfer onto the frame.
For this frame style, I cut an additional design in half to go on the top and the bottom of the frame as you see in the photo below!!
As you can see in the above picture, I ALWAYS!!! tape of the areas where I do not want any etching cream to touch. This is an added security.
Use your squeegee tool to spread the etching cream generously over your project. You want it about as thick as peanut butter so that you can insure a clean and perfect etc.
Allow the cream to set for 15mins. That is all the time you need!!
Remember that Etchall Products are all reusable. So scrap off the etching cream with your squeegee and return it to the container then....
Take your project to the sink and rinse off the rest of the etching cream and remove the tape and Etching Mask from the project under running water. This makes removing the the etching mask easier.
This frame came incomplete with no back, But I added some 1/8 inch score take to the back to hold my matted photo that can be removed later to change the photo out.
Using some fabulous metal filigrees and pearls from Miriams Crafting Supplies I added them to the sides of the frame as you see below!
Now for the finished piece!!!
WOW, it turned out stunning and looks fabulous in my living room for everyone to see!!! I took a $2 frame and made it look so expensive using a fabulous and amazing product Etchall. If you have any questions about this project, please let me know!! I will be more than happy to tel you how to get started on this Etchall journey so that you can create lovely pieces!!
Thanks for Stopping By
Your Professional Crafting Educator and Designer
Angela Holt
Subscribe to:
Posts (Atom)