Step 1 I began by painting the inside frame with Gesso becuase I wanted a White Background!!
Step 2 I folded the Doilies in half and glued the first layer to the frame!!! Noticed that I only Gesso painted what I needed.
Here is what the first Layer looks like!!
I added another layer and this is what it looks like!! The Double layers make for a better look!
Step 3 I took some sheer embroidered lace and glued it around the mirror. I created ruffles as I went around!
Here are the results!! Now that the frame is finished, now we need to decorate the glass!!!
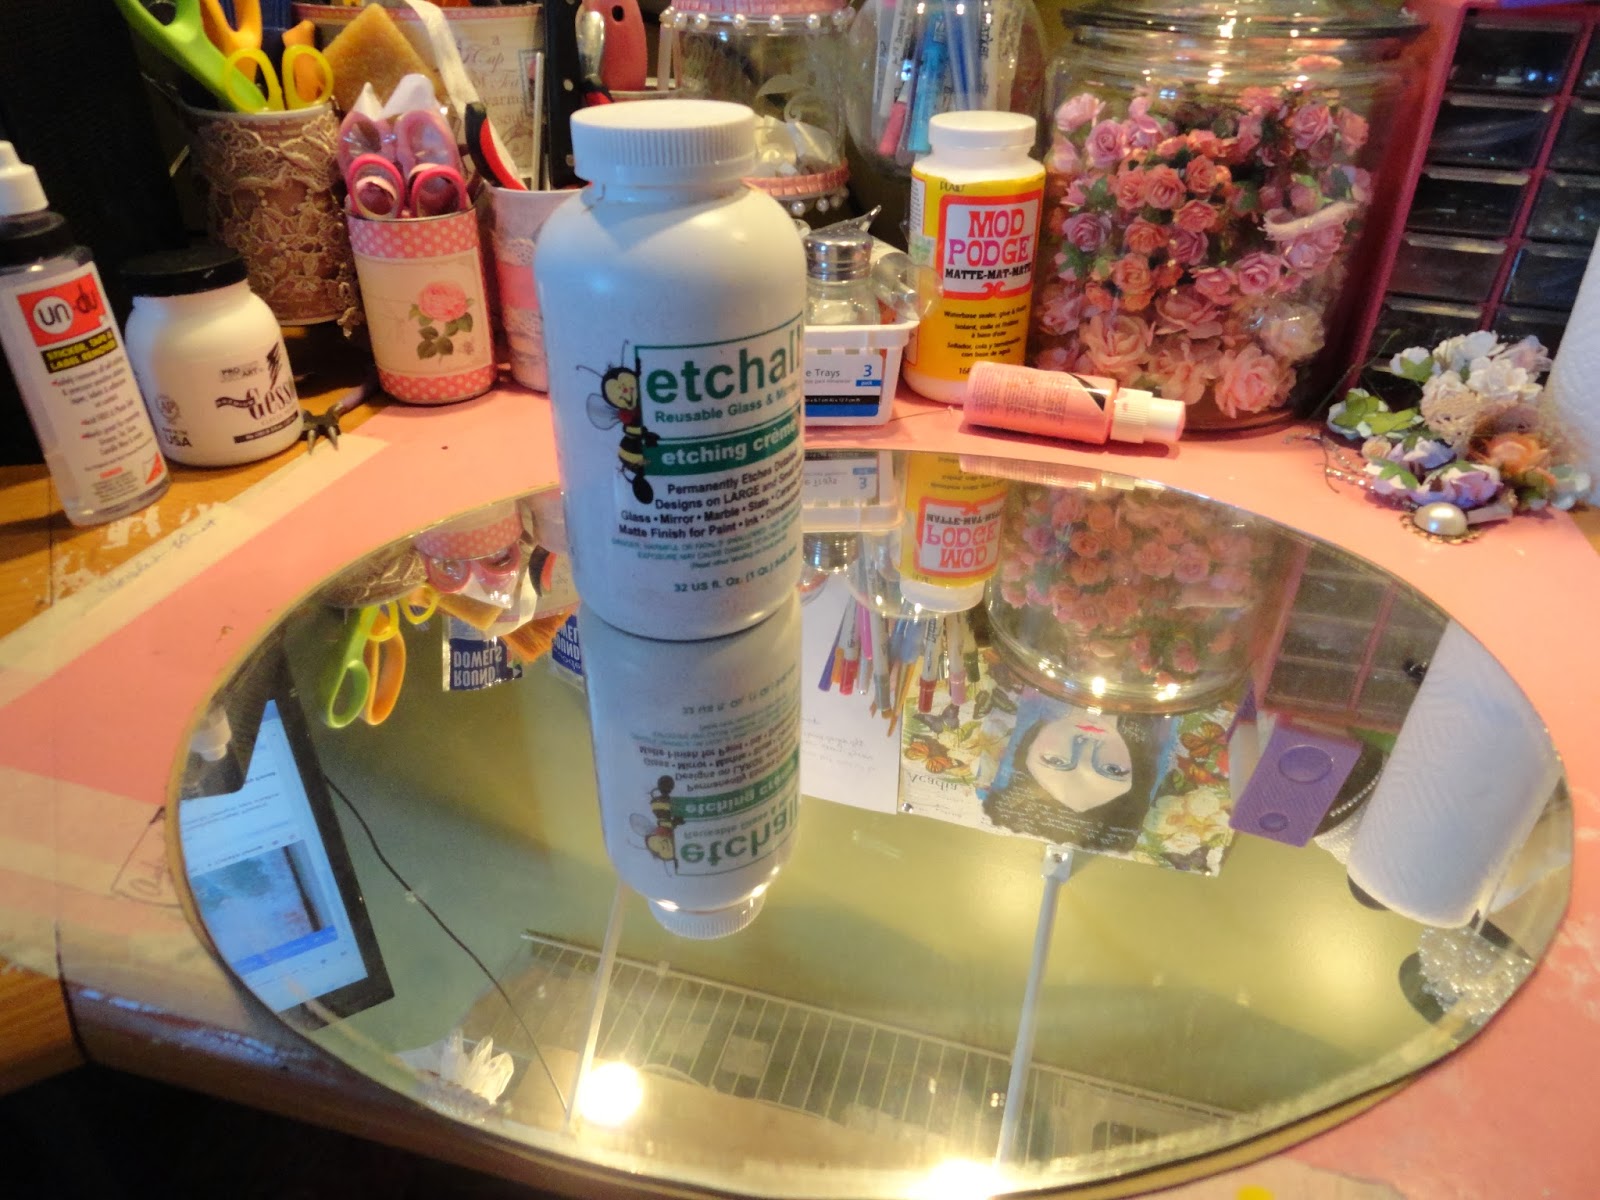
Etchall is the leading product in etching glass. The results can not be created with any other product on the market as Etchall provides!!! Every piece I create always comes out amazing!!!! So lets get to the tutorial of this step!!!
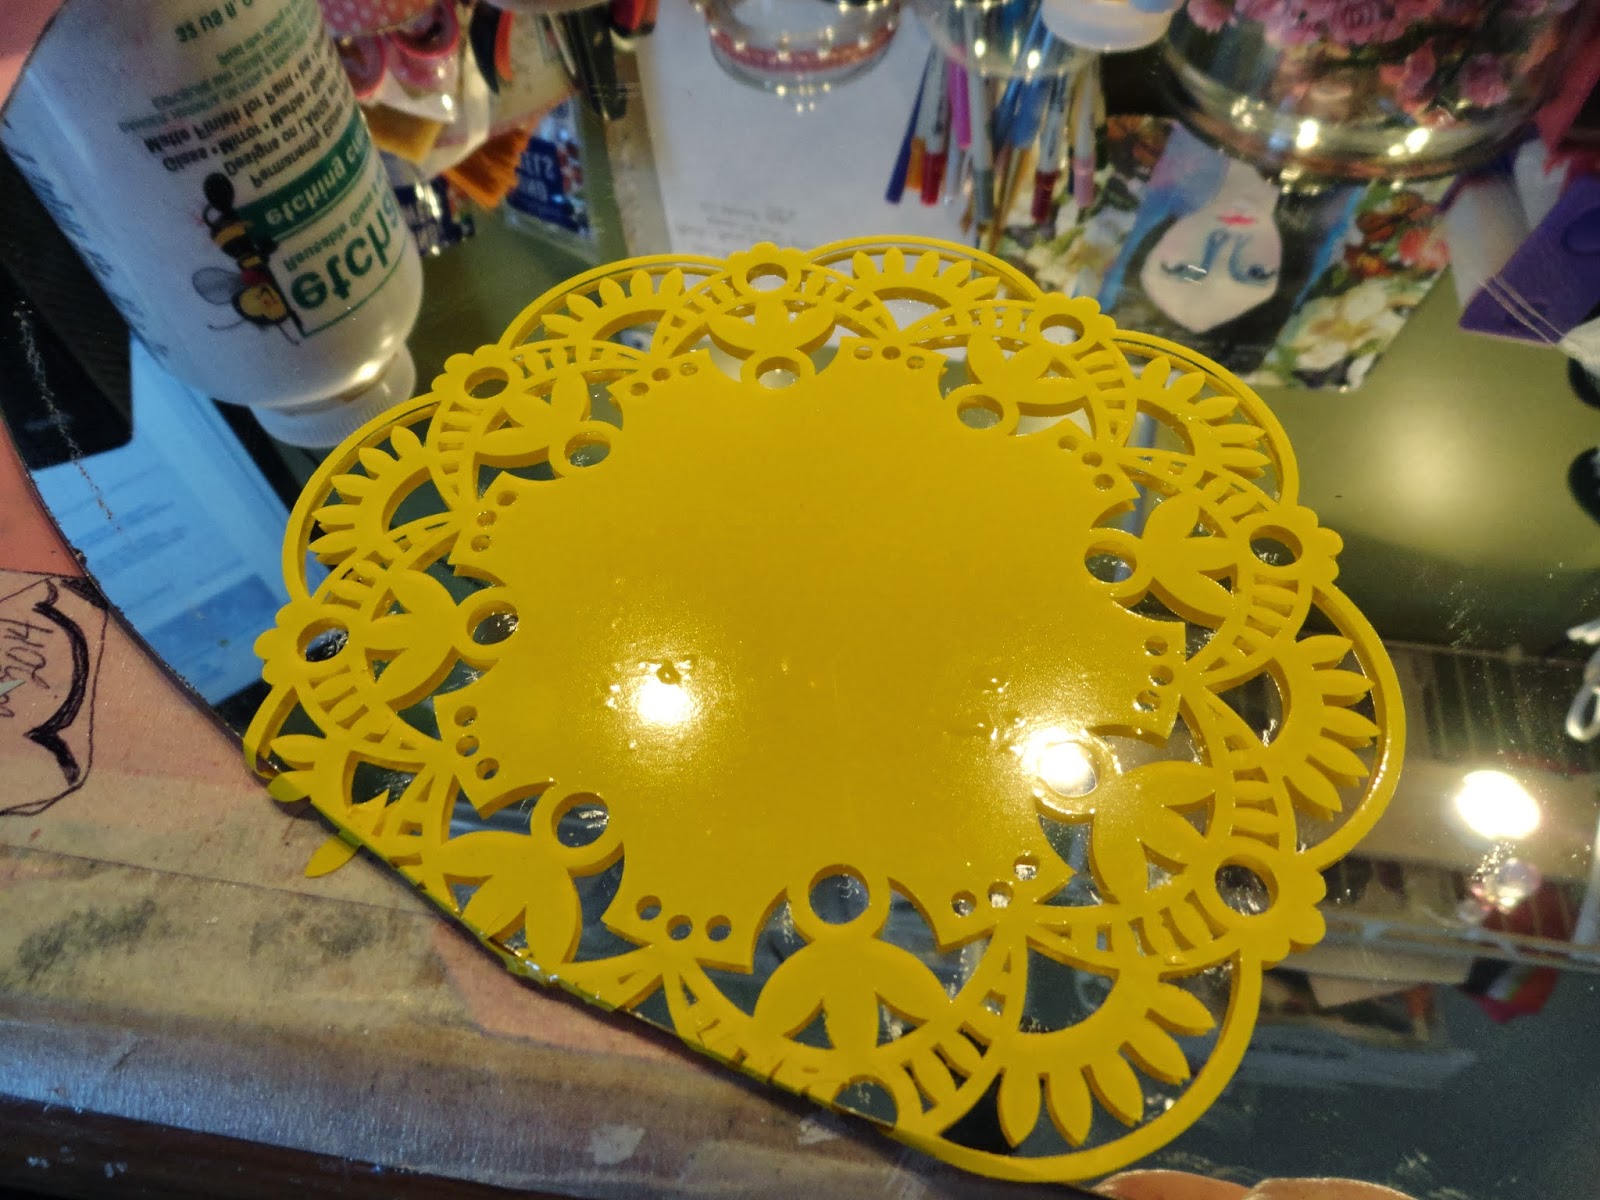
Step1 you pick a design you would like to etch, which in the case was doily patterns. You will cut your chosen design out on the Etchall Etching Vinyle then place a piece of Etchall Etching Mask a top the design.
Step 2 you will then peel the backing off revealing the sticking side of the vinyl.
Step 3 Place the design onto your mirror sticky side down and use your Etchall squeegee tool and burnish and press the design to the mirror for good contact.
Step 4 remove the etching mask revealing the design.
Etchall has this amazing product called Gel Resist. It does as it says, it resists the etching cream. So you will apply it to the areas that you do not want the etching cream to etch.
Step 6 Use the resits gel around the cut image. As you see above I used a paint brush to apply the Gel. The Gel begins green and when it drys clear which takes about 30 mins and this time depends all on how thick you applied it too. You are ready to apply your etching cream!!
Step 7 apply your etching cream as seen above making sure that you have a thick coating to where you can hardly see your design. The thicker the coating, the better the results!!!
Step 7 After the 15 mins have elapsed, you will scrap back off the etching cream and return it to the bottle for another etching. That is what is amazing about Etchall Creams and Dips. They are reusable which will lend you tons of etching projects.
Step 8 take your project and rinse under water the remaining etching cream and to remove the etching mask. It is much easier to remove the mask undeer water for it releases the adhesive.
Finally, clean and dry your project and reveal your amazing results!! As I have always said Etchall products are the best on the market and will always give you professional results every time if you follow the simple steps!!
Now here is my Etched Mirror that has been revamped!!! It went from a Thrift Store find to something simply divine!!! So I hope this inspires you to take those ugly things you have hidden and rethink the possibilities of what they can truly be!!!
Thank you for stopping by
Your Professional Crafting Designer and Educator
Angela Holt


No comments:
Post a Comment